Sewing Update

I have been slowly making roman shades for my house: 3 finished, 3 more on the way. The theme for our bedroom window shades is birds. There are all kinds of birds in our neighborhood and I love them! All roman shades feature prints in birds. For our master bedroom and the closet room, I chose a linen-cotton bird toil in ivory tone that matches our bedroom’s Benjamin Moor Swiss Coffee wall paint. 

I learned how to make the roman shades from a Craftsy class called Sewing Custom Roman Shades by Susan Woodcock. It’s a fantastic class! Following Susan’s instructions, I achieved great results. Recently, I also found a book called “The Shade Book” by July Lindahl. Ah! I wish I could find this book earlier! It has great contents and shows endless possibilities and variations in shade making that Susan’s class doesn’t show in her class. I highly recommend both the Craftsy Class and the shade book (out of print, check out your local library first). 

The "mistake" I made for the shades is that I didn't purchase enough fabric for two, symmetrical splices on the face fabric. So, I had only one splice, unsymmetrical and on the left side. I did match carefully at the splice to align the patterns, though. To avoid the seam to be seen, you need blackout lining, which I didn't want because I love lots of lights.

Ben did a great job in shade installation, except for one bracket he measured the screw holes 1 inch away from the correct locations and had to unscrew and relocate the bracket to the stud next to the originally proposed one (we got a stud finder for our shade installation). 

I just realized that the basting stitches are still on the shades!

All plastic rings on the back were hand-sewn. Instead of using glass head pins, I used safety pins just like how we baste a quilt before machine quilting. I placed the plastic rings rather closely at 8” apart, and at each ring location I put on a safety pin. I could then rolled and unrolled the unfinished shade without shifting the face fabric and baking. 

I have to admit that I didn’t insert a rod at the base of the shades for the 2nd and 3rd shades. I found that as I placed the rings so close together and if I pull up the shade slowly, there won’t be any puckering.

I would also like to share with you the trick of placing the shade a few inches higher, so the shade can be pull up high and clear the window to allow more lights coming in. 

The shade pleats are so nice =)

Tokyo Trip 2016 Part 2 - The Nippori Fabric Town

From time to time I order the Japanese sewing magazine “Style Book” from the Japanese Amazon site, which regularly features a section about the Nippori Fabric Town, with a map attached. It always looked like a tempting place for me so when I planned my trip, I dropped a pin at the Nippori Fabric Town on my Google Maps as one of the several MUST VISIT fabric shopping destinations. Indeed the “fabric town” seems to be quite well-known for tourists who love to sew. I saw people with different ethnic backgrounds rummaging around for fabrics and notions, and even met two women from the US grabbing a full basket of Japanese floral print fatquarters for their friends. 

The Nipori Fabric Town is conveniently located just steps outside the Nippori Station of the JR East Yamanote Line, with banners hanging on the main street like this to remind you that it is dedicated for fabrics: 

This place is the fashion district of Tokyo. When you are here be sure to take a free copy of the directory map (English version available, check out the cashier counter area of any of the bigger stores) to guide your shopping. The most famous shop here is called Tomato – The shop has four branches spread randomly on each side of the street, for selling different types of fabrics (fashion, craft, quilting, home décor, etc) and so targeting different groups of sewers. Look around for the big tomato sign and you will not miss any of them. They sell all sorts of fabrics and notions from Harris Tweed to basting thread.

Out of the 90 fabric and notion shops listed on the official map, there are two other places that I also like: Elegance for their high quality fashion fabrics (they have one branch, the Store #21 on the Map Index, that sells only knits and jerseys, absolutely stunning stuffs!) and Momo, Store #8 on the Map Index, for their linens and cottons. Check them out when you are there!

The Elegance shop Knits branch

Note I think the easiest way to go to anywhere in Tokyo is through the rapid transit. The Tokyo rapid transit network is perhaps the most convoluted but fabulous one I’ve ever seen in my life! There are two primary subway operators: Tokyo Metro and Toei Subway, making up a total of 13 subway lines and 285 subway stations. On top of that there are several subway lines run by private companies and tens of train lines operated by JR East. The railway and subway lines are interconnected and many times their stations share the same building complex. With a Passmo or Suica Card, you can transfer between lines “barrier free”. Once you understand how it works and with the help from Google Maps, you can basically go anywhere hassle free. My only advice is follow the Google Maps. It gives accurate route info (including bus routes) and time schedule 99% of the time. 

On my next post, I will steer my wheel to Jiyugaoka.

Tokyo Trip 2016 Part 1 - My Favorite Fabric Shop

From March 18 to April 3 I spent my time in Tokyo – to visit my sister, sightseeing (cherry blossoms blooming!), and equally importantly and enjoyably, to check out craft stores and bring home fabrics, notions, patterns and books. It’s so much fun! Tokyo is absolutely the paradise for fabric lovers and fiber snobs. I envy how the Japanese have access to high quality products that our Fabricland and Michaels wouldn’t match. I love the cotton-linen blend prints, denims and canvas fabrics made in Japan that are hardly available here in Canada. I can’t wait to share with you my unforgettable shopping experience!

And for this post, let’s talk about my favourite place. It’s the Swany fabric shop in Kamakura.

Swany - the original building

Kamakura is about 50km south of Tokyo, a lovely quaint old beach town where Swany’s original store resides. The shop is about 450m (6min walk) away from the Kamakura Station. In the past I purchased two lovely bag making books (this one and this one) they published and loved the floral fabrics used on their samples, so I knew I must visit the shop even though it is a bit far away from the city centre. However, before the visit I didn't expect that Swany is a big, big fabric store that consisted an old, original building and a new building next to it, with each having several floors, all open to the public. They have all you need for garment sewing, quilting, bag making to home furnishing. There are many things that I like about the store:

The clothing samples are for sale, too!

·         They have a vast collection of display samples on each floor for you to get inspirations and to touch and feel the drape and texture of the fabrics. These samples are pretty decorations that bring lots of charm to the store, too.

·         All merchandise are, if not all, mostly high quality stuffs. Many of the stuffs they sell are hard to find in Canada, including Japanese-made canvas, denim, laminated fabrics, and Swany's own collections. I am so in love with the linen florals, polka dots and quilting cottons from around the world. My favorite is the echino by Etsuko Furuya collection, so modern and one-of-a-kind! I see endless possibilities in turning the echino fabrics into pillows, table runners, purses and bags. In addition, Swany has a huge collection of bag making accessories and notions. It’s simply the best brick-and-mortar store to gather what you need for bag making. By the way, it is a brick-and-mortar store with a charming spirit, not a typical North American brick-and-mortar box.This is the one-stop place for souvenirs! Another place that can compete with Swany would probably be the Tomato shops in the Nipori Fabric Town, which will be discussed later.

·         The store is so clean and organized. Even leftover fabric bundles at bargaining prices are neatly packaged and displayed on trays.

The free pattern I got!

Teddy bears in Tilda fabrics.

·         You can ask for a “Swany special” pattern for free if you spend over 1000 yen (about $12 CAD). I like free stuffs. Note that hese are just patterns – no instructions. So you need to figure out how to assemble the pieces together on your own.

In summary this is THE STORE of my favourite and that I will definitely revisit on my next trip to Tokyo. You can easily spent half a day there browsing through their collection of fabrics, patterns, books and notions, and the rest of the day to stroll around the town, to see the great Buddha, the temples, or take the vintage train (Enoden) to the Enoshima Island.

Komachi St. is great as a "bundle package" for a one-day trip in Kamakura

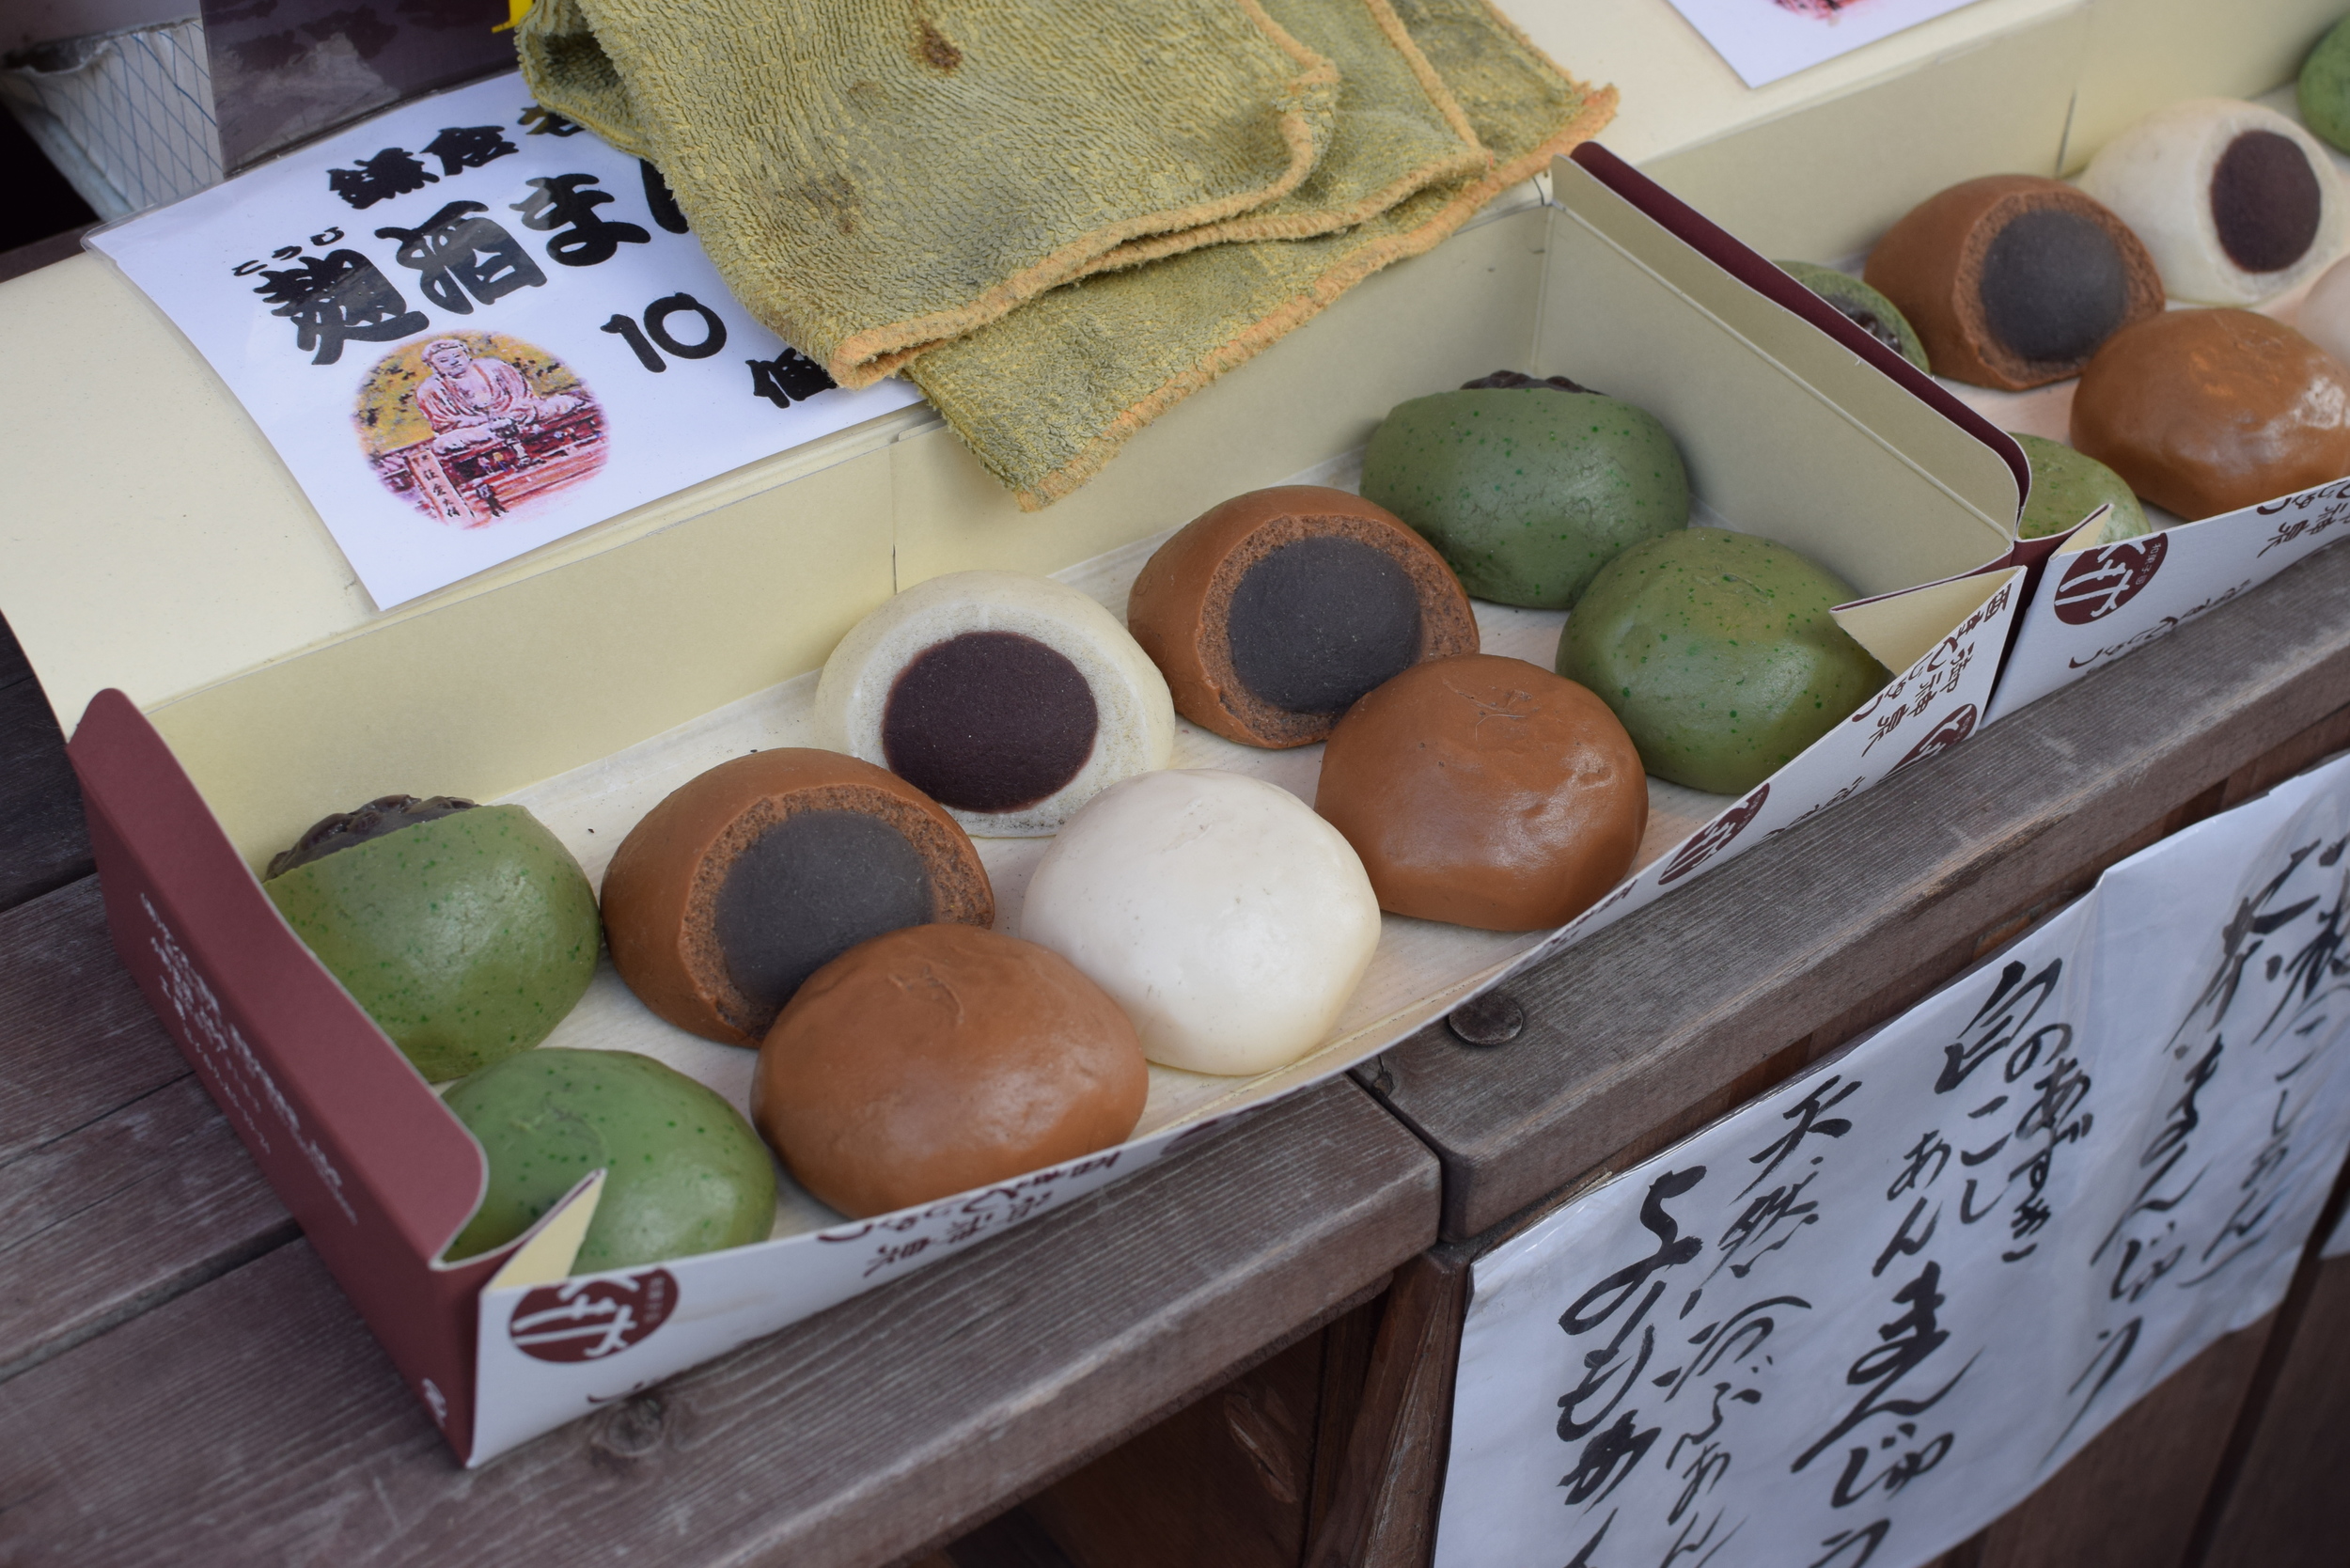
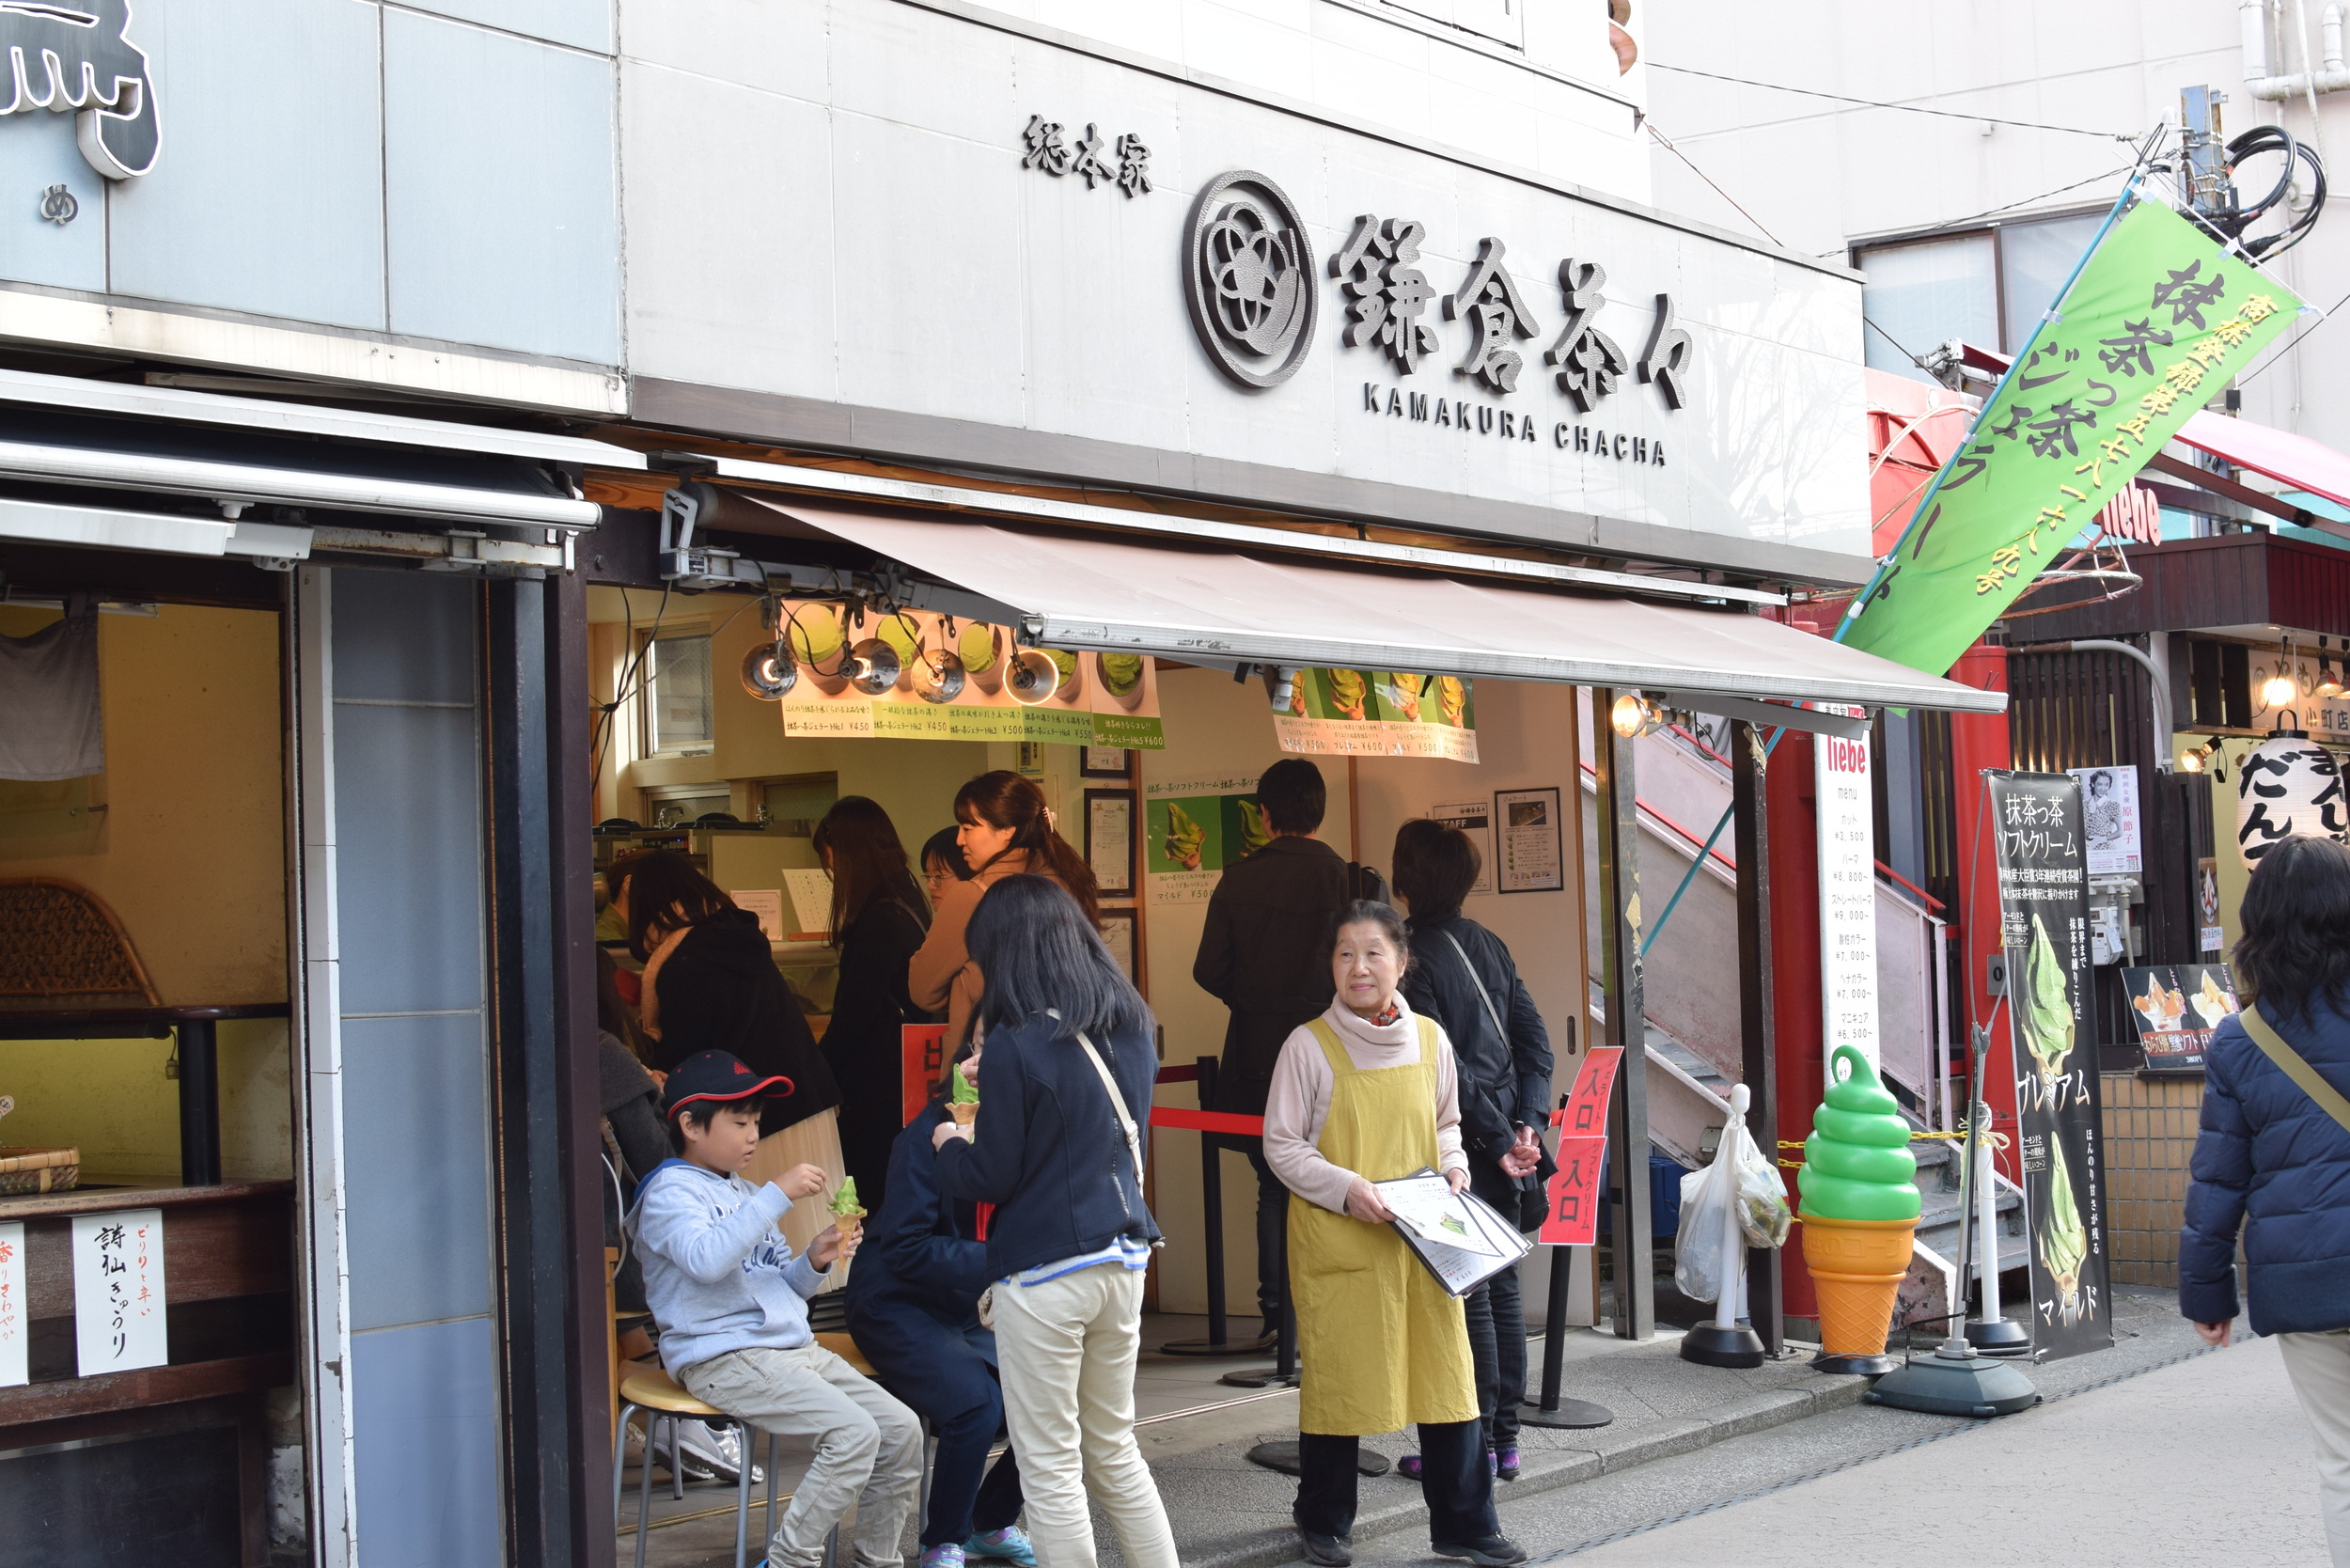
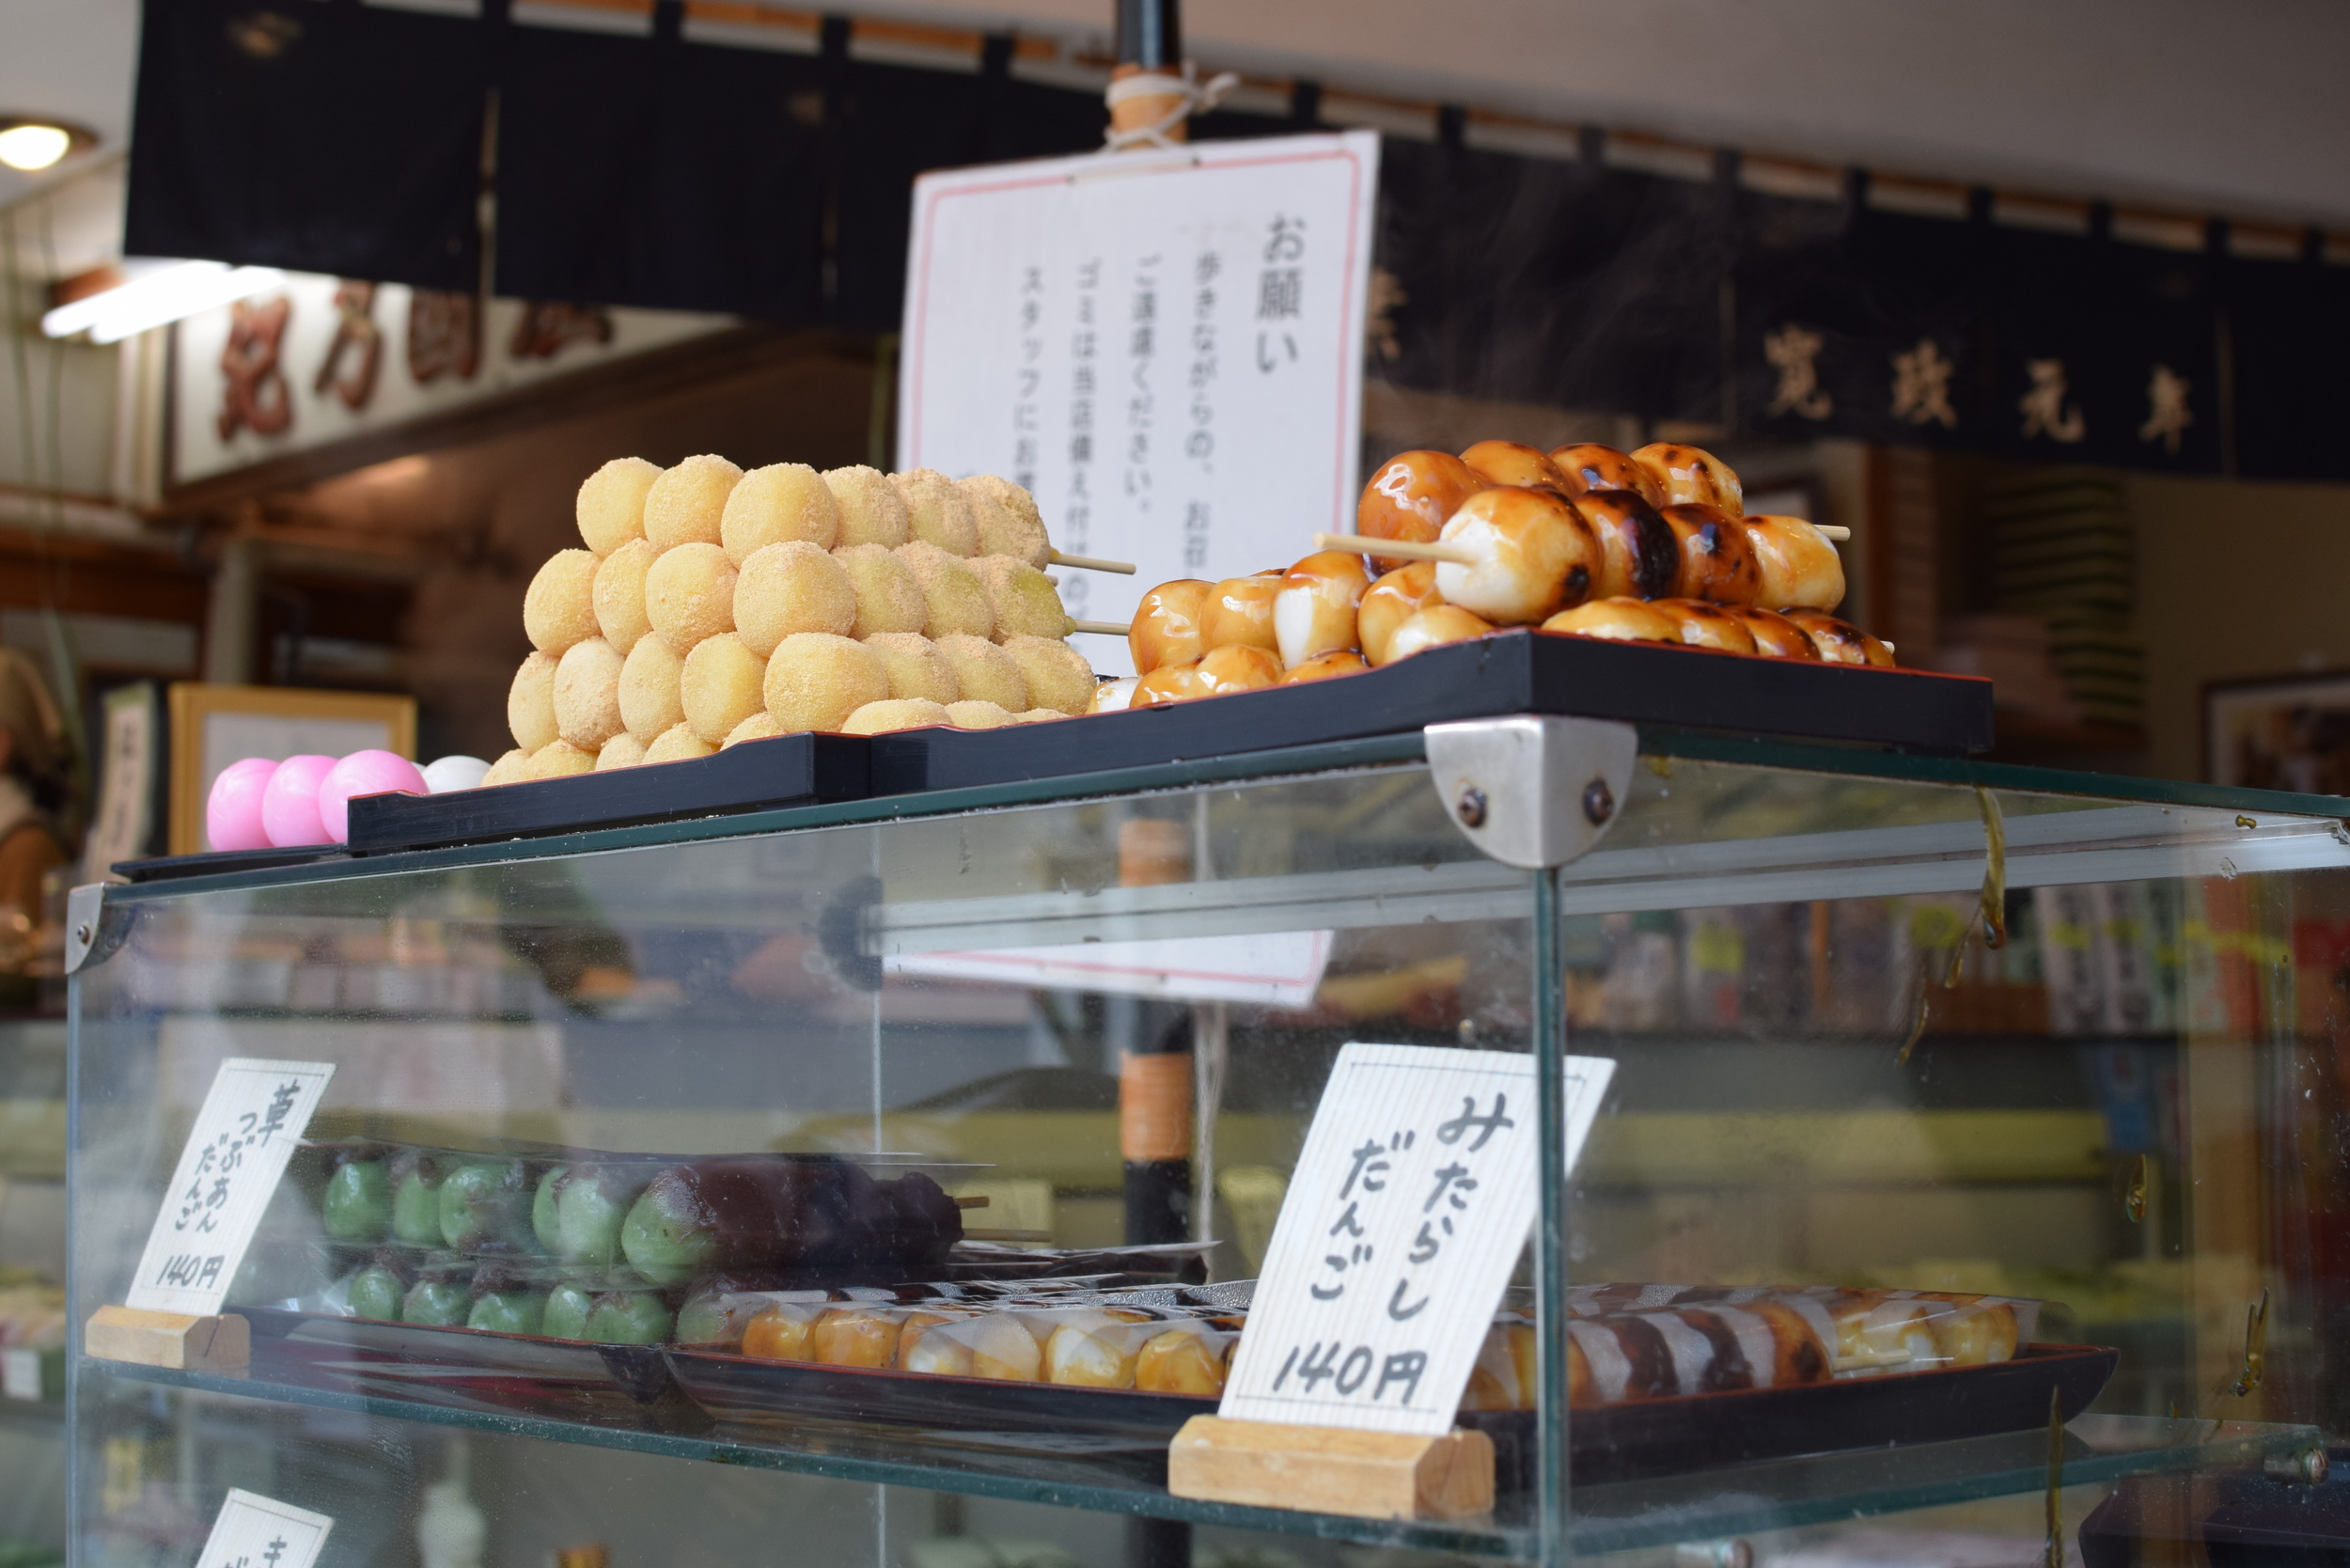
My Itinerary was Enoshima Island – Swany – Komachi Street for a relaxing, one-day trip. The Kimachi Street is filled with a sea of people in the weekends. It’s a great place for tasting Japanese Street Food! I especially enjoyed the green tea ice cream in the boldest, bitterest flavour.

On my way to the Enoshima Island... this is so impressive!

The island is so crowed!

The island is so crowed!

My sister, with her very limited understand of Japanese, helped me to figure out where the exhibition was located.

Oh oh oh, last but not the least, on my way to the Enoshima Island riding the Enoden train, I saw a poster about a quilt exhibition by Kathy Nakajima, who is famous for her Hawaiian Style applique. Of course I couldn’t miss this, and stopped by:

The exhibition is a bit too commercial to my taste; nevertheless it’s always nice to see and learn from other people’s handwork.

Needless to say, I had a fun day in Kamakura! I am sure that you will like the town, too!

Soiree Purse

I just returned from my vacation in Japan, and discovered in my mail box that the latest Creative Knitting magazine, Summer 2016, is out. My purse pattern sent to the magazine last September has finally unveiled.

It features Estonian knitted lace in a silk-wool blend fingering weight yarn by Spud & Chloe, adorned with purple square beads, lined with ivory silk organza, and finished with glittery purple-grey ribbons. 

Knitting with beads was the theme requested by the editors. I used a yarn-over beading technique to fill  in all yarn-overs with translusent square beads that I got from a beads store in Queen St. West, the fashion district of Toronto. Also, the purl stitches that define each pattern repeat were fill with beads by purling with a bead into each stitch. The purse was knitted flat (in two pieces) top down. The border was knitted separately and grafted to the bottom of the purse. You can definitely knit the purse body in the round. However, I actually preferred knitting the front and back separately, and so there would be a seam on each side to "define" the body. 

I especially like the decorative cast-on ridge of the border. It's a knitted cast-on through the back loops with double strands of yarn. The bold, braid like ridge is formed by purling the first two rows (with only single strand of yarn). 

If you look closely the image feature in the magazine, it shows the "back" side of the purse, actually. The border shows the purl stitches, and the beads on the border are not quite visible. But my husband's comment was: I like the back side with the purl stitches better. So, maybe there is no back side. It all depends on your taste. 

An Update

It's been a while since my last entry back in August of 2015. I have been so busy with work and -- last summer my husband and I purchased our first house! We have been learning how to renovate and renovating our house since the closing day - Sept. 29, 2015. Thank goodness, the interior is 95% completed as of this weekend. So many things learned, so much frustration, and so overwhelmed. It's a lengthy and nervous process. Thank goodness, nothing irreversibly wrong happened, and we are now satisfied with our makeover on a house built in 1971. I think we truly brought a modern, clean and fresh look to the previously beige-colored-everywhere rooms, only whishing we could have more budget to renovate the washrooms and the kitchen. So, we need to work hard and save more. When summer comes, we will do a makeover for our garage, built a deck and fence up our backyard. But meanwhile, we need a break.

I will be relocating my studio to the basement. That is certainly not the best location, but I can have almost the entire basement to indulge with! I have painted the walls with a very nice aqua color - Benjamin Moore Whispering Spring, cut a larger pegboard, assembled a larger cutting table, and today we went to IKEA for three more Kallax shelving units. Stay tuned and I will soon reveal how my new studio will be like.

I will end the update with something quilted.

Honestly, although I didn't have many completed works in 2015, I did learn a lot of new skills, and my handwork improved tremendously. Look!

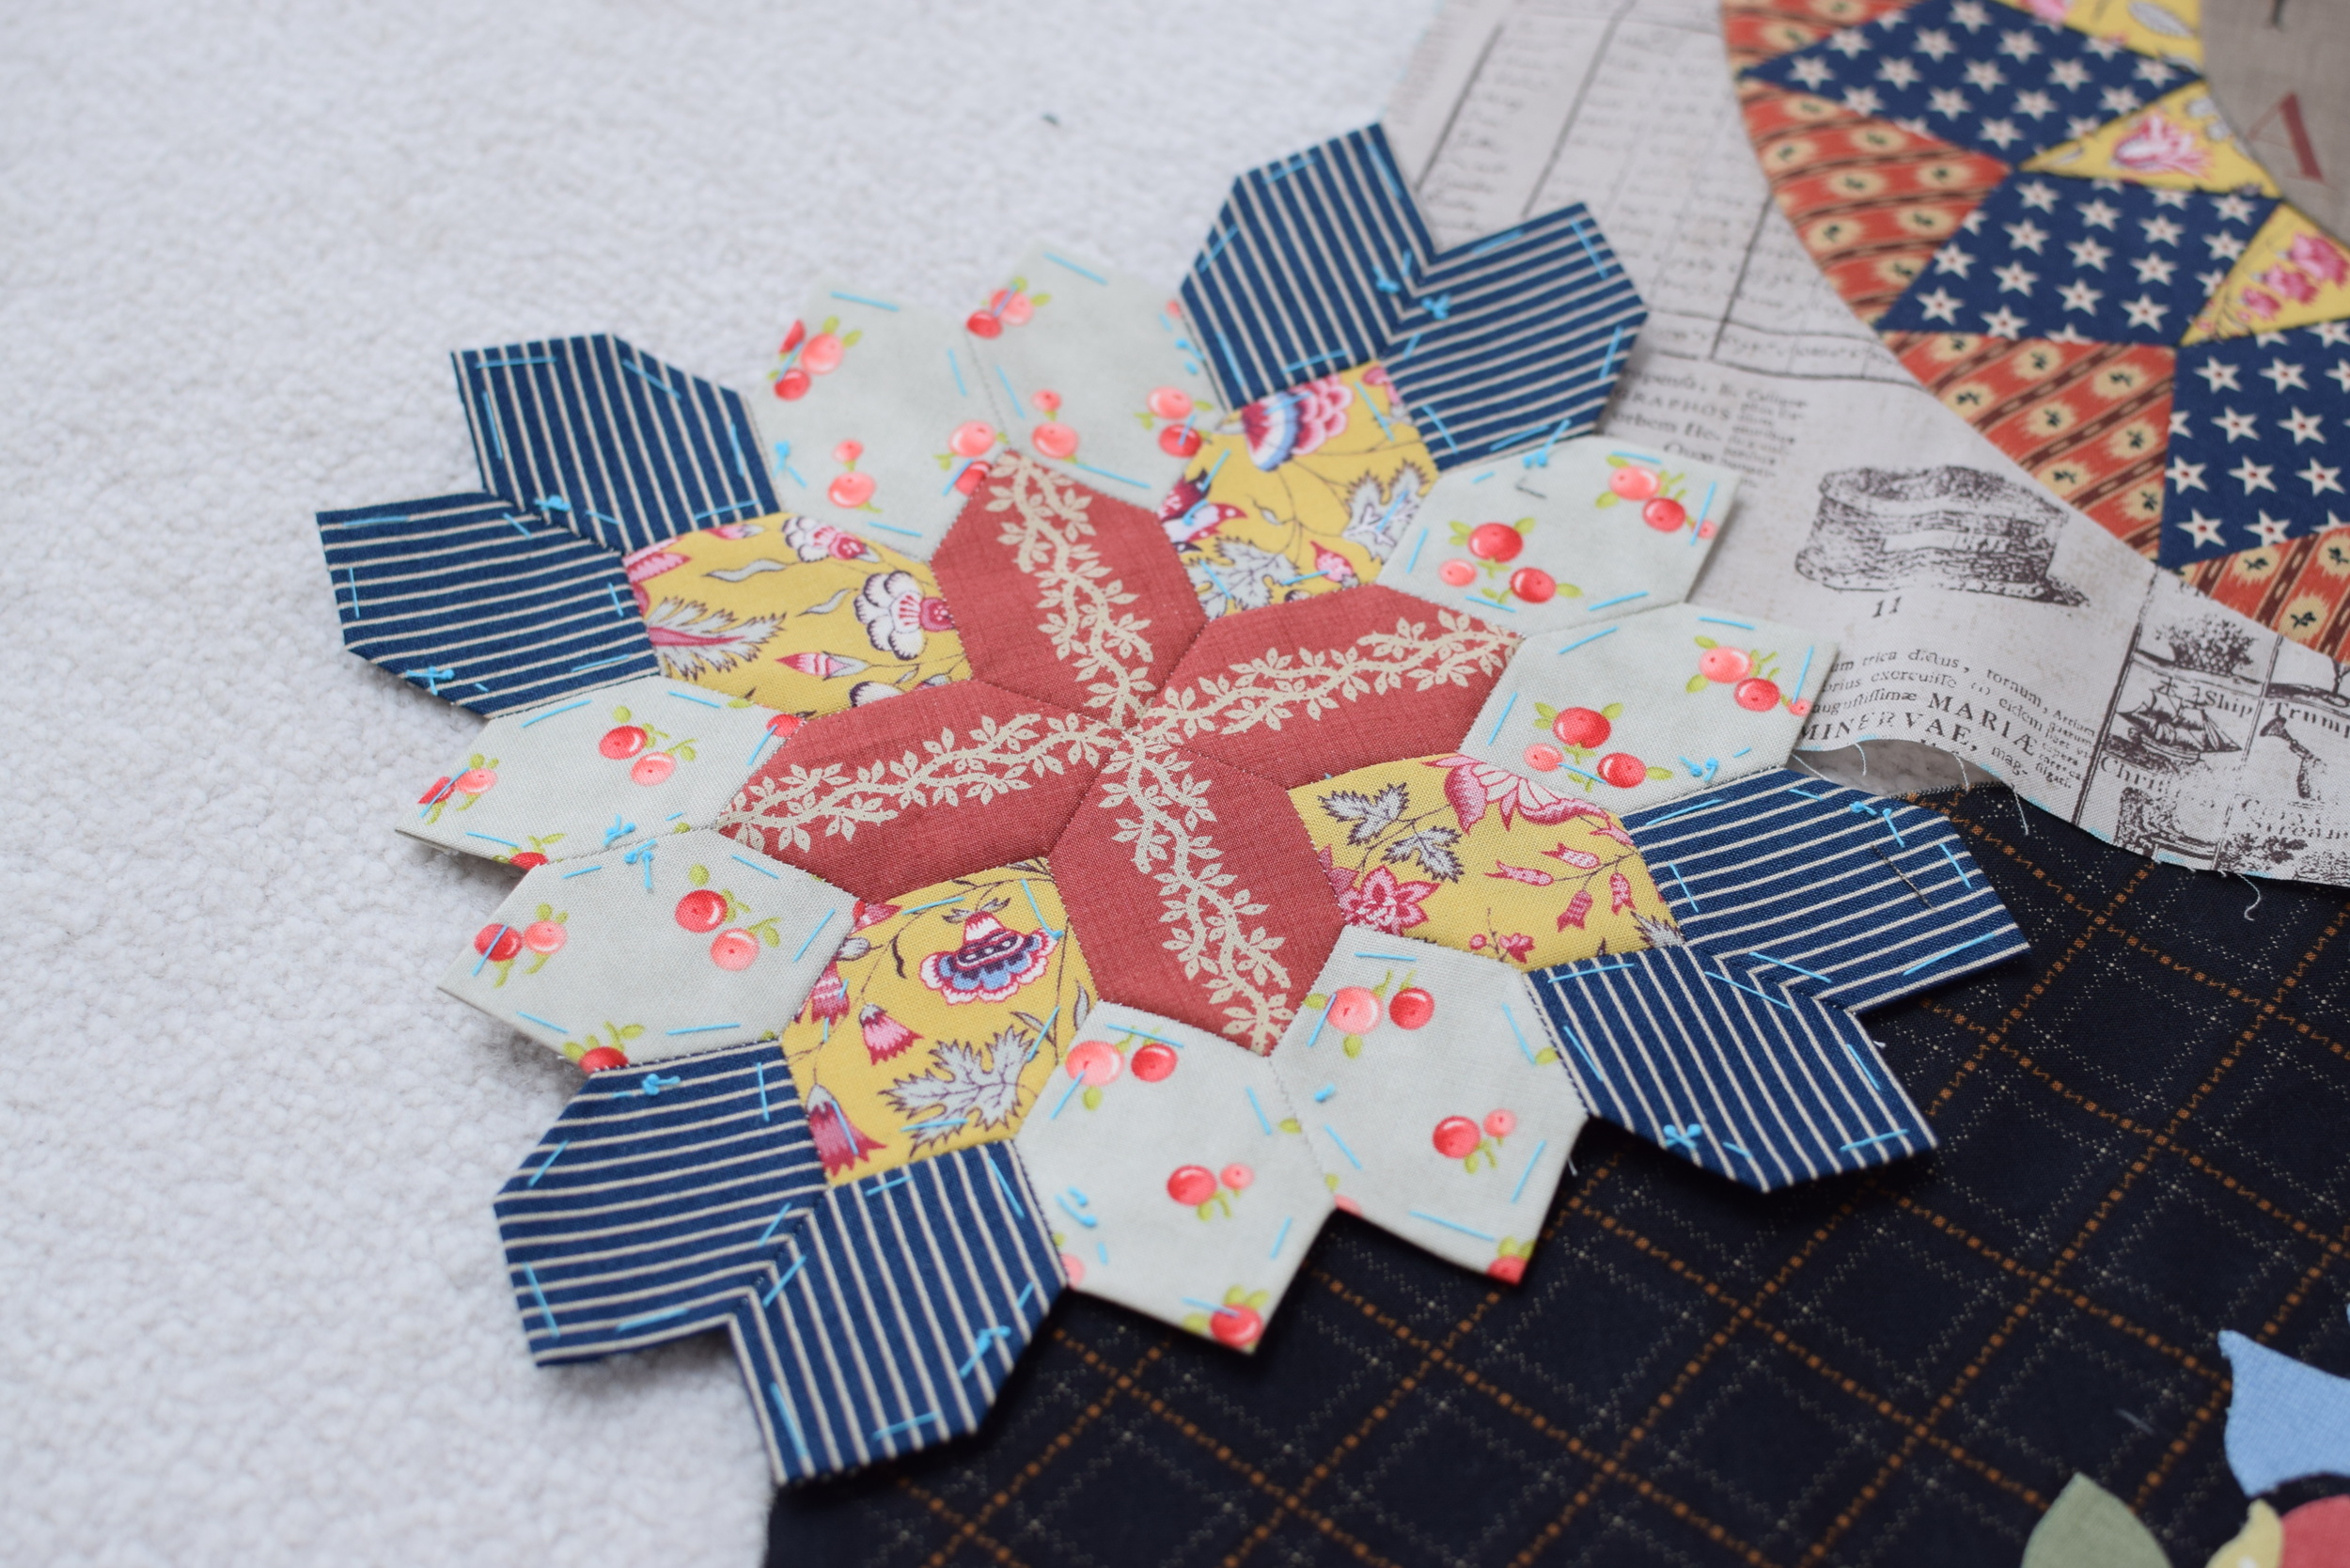
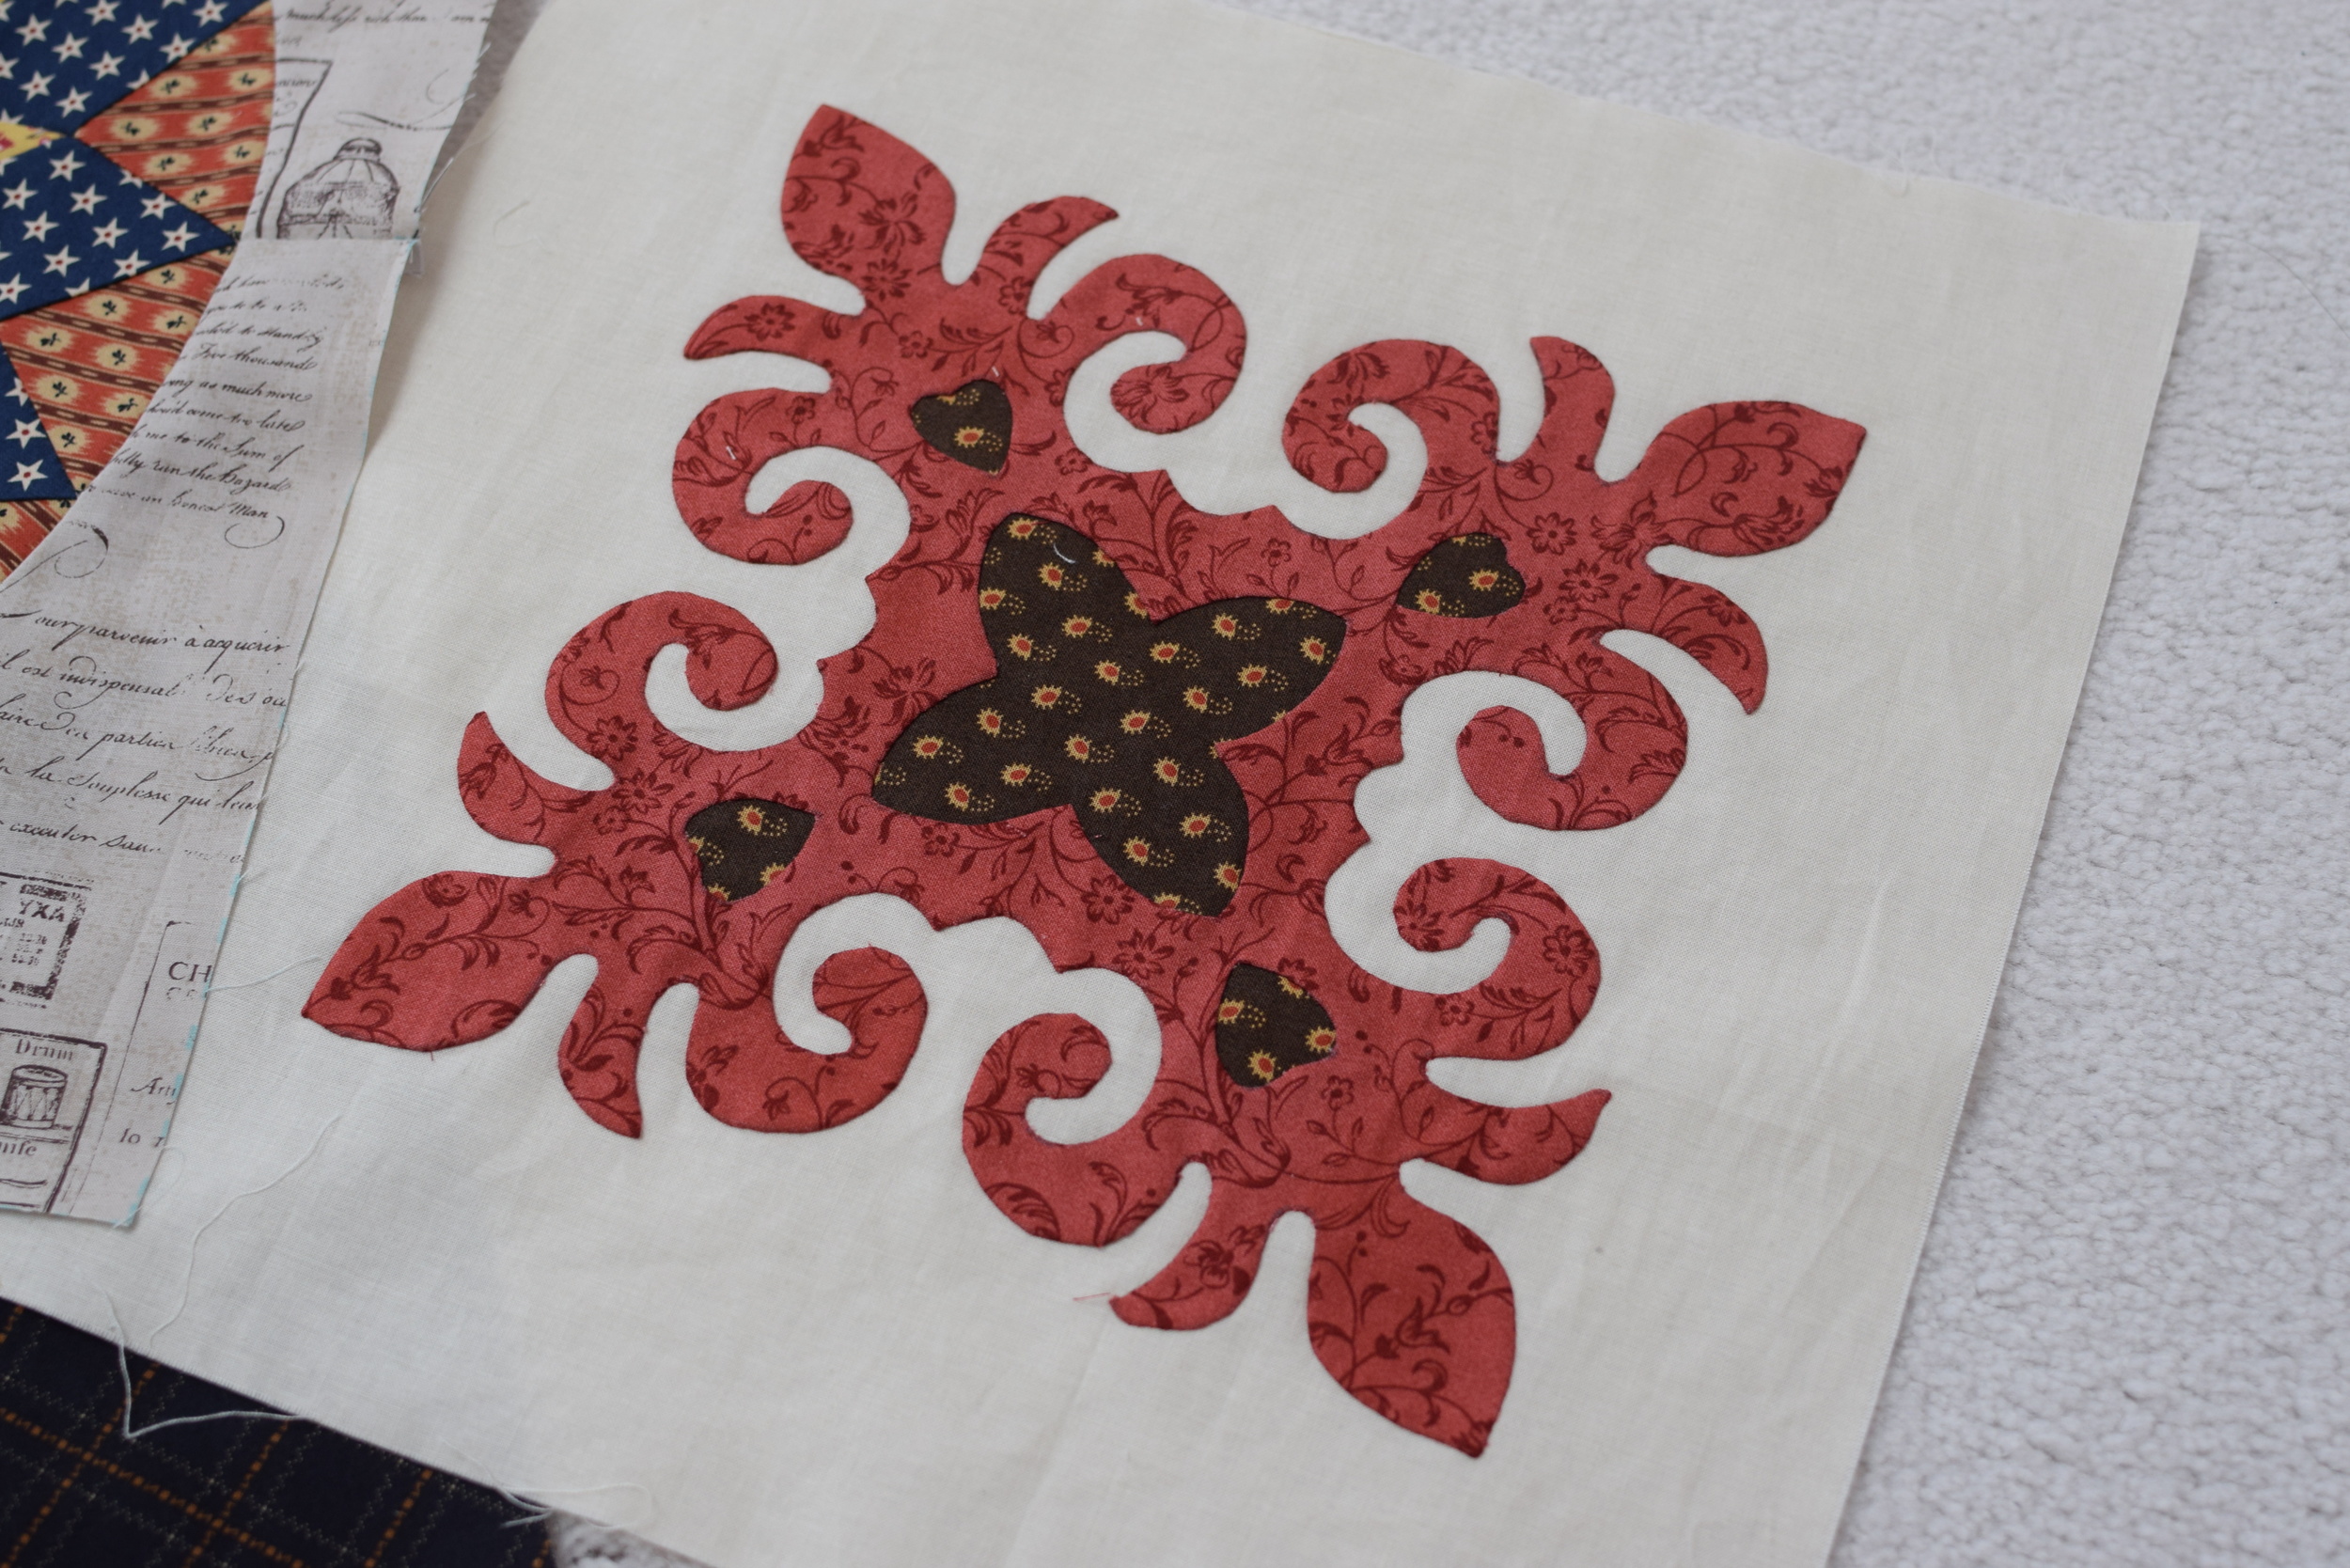
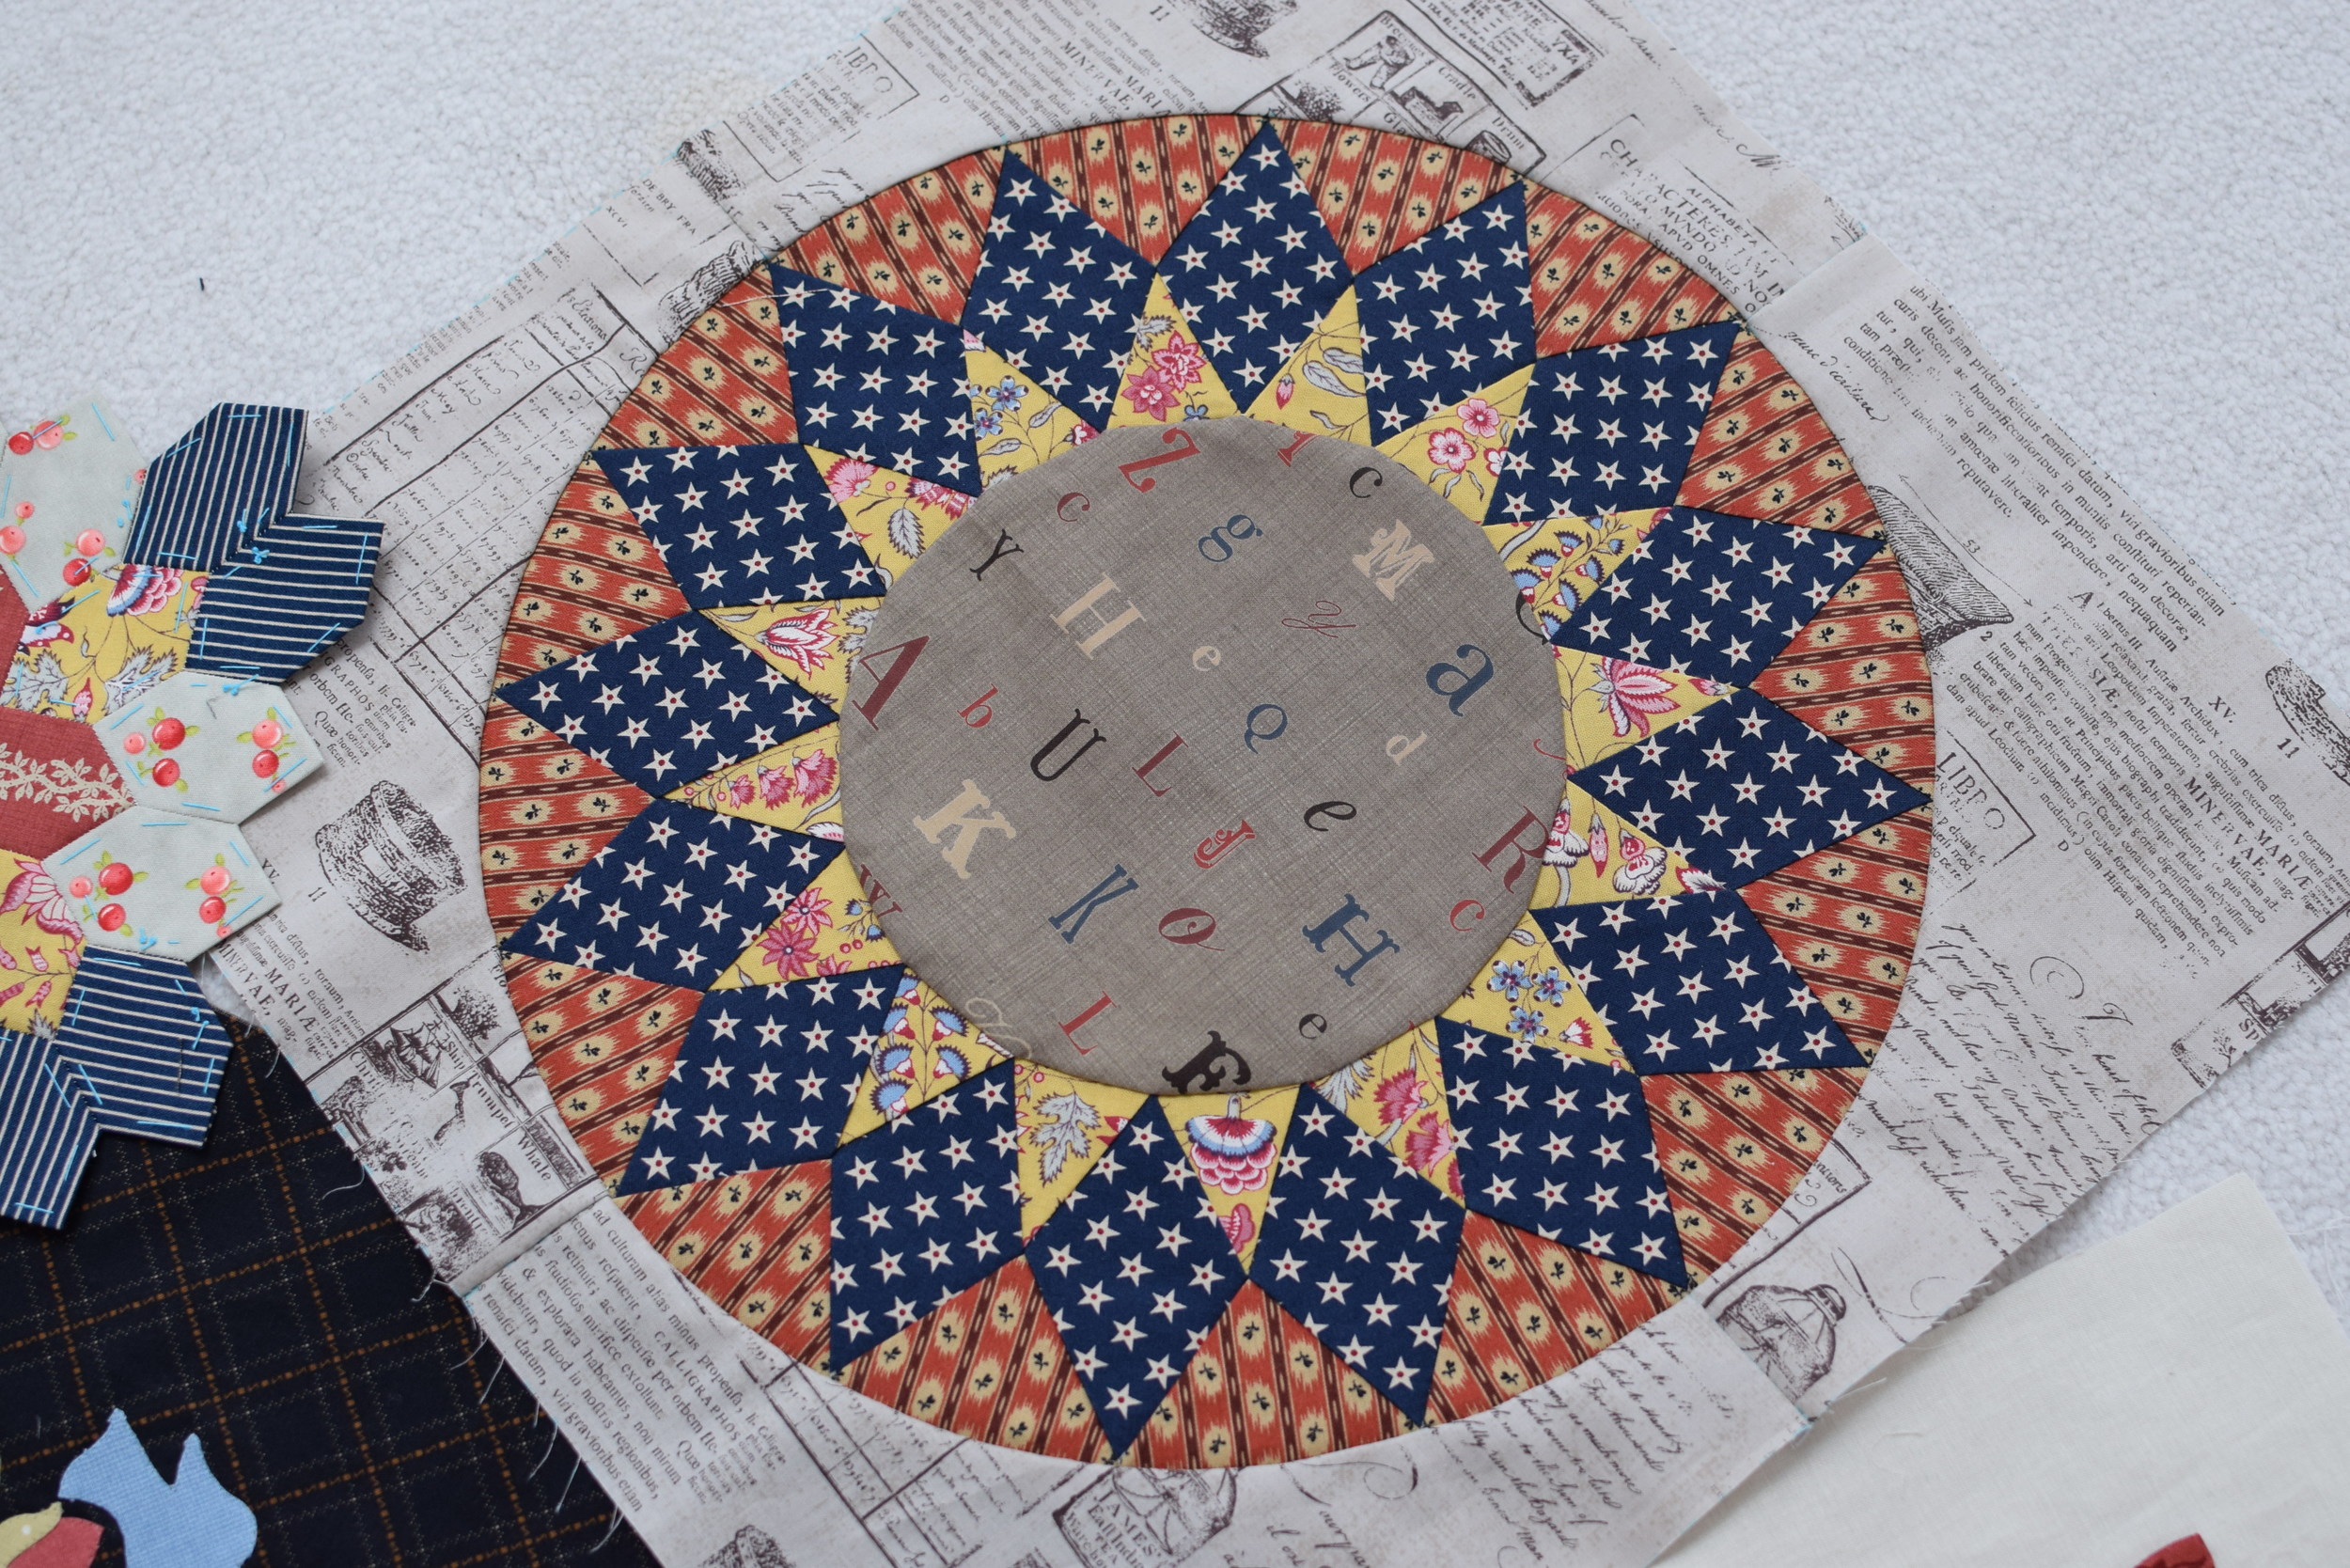
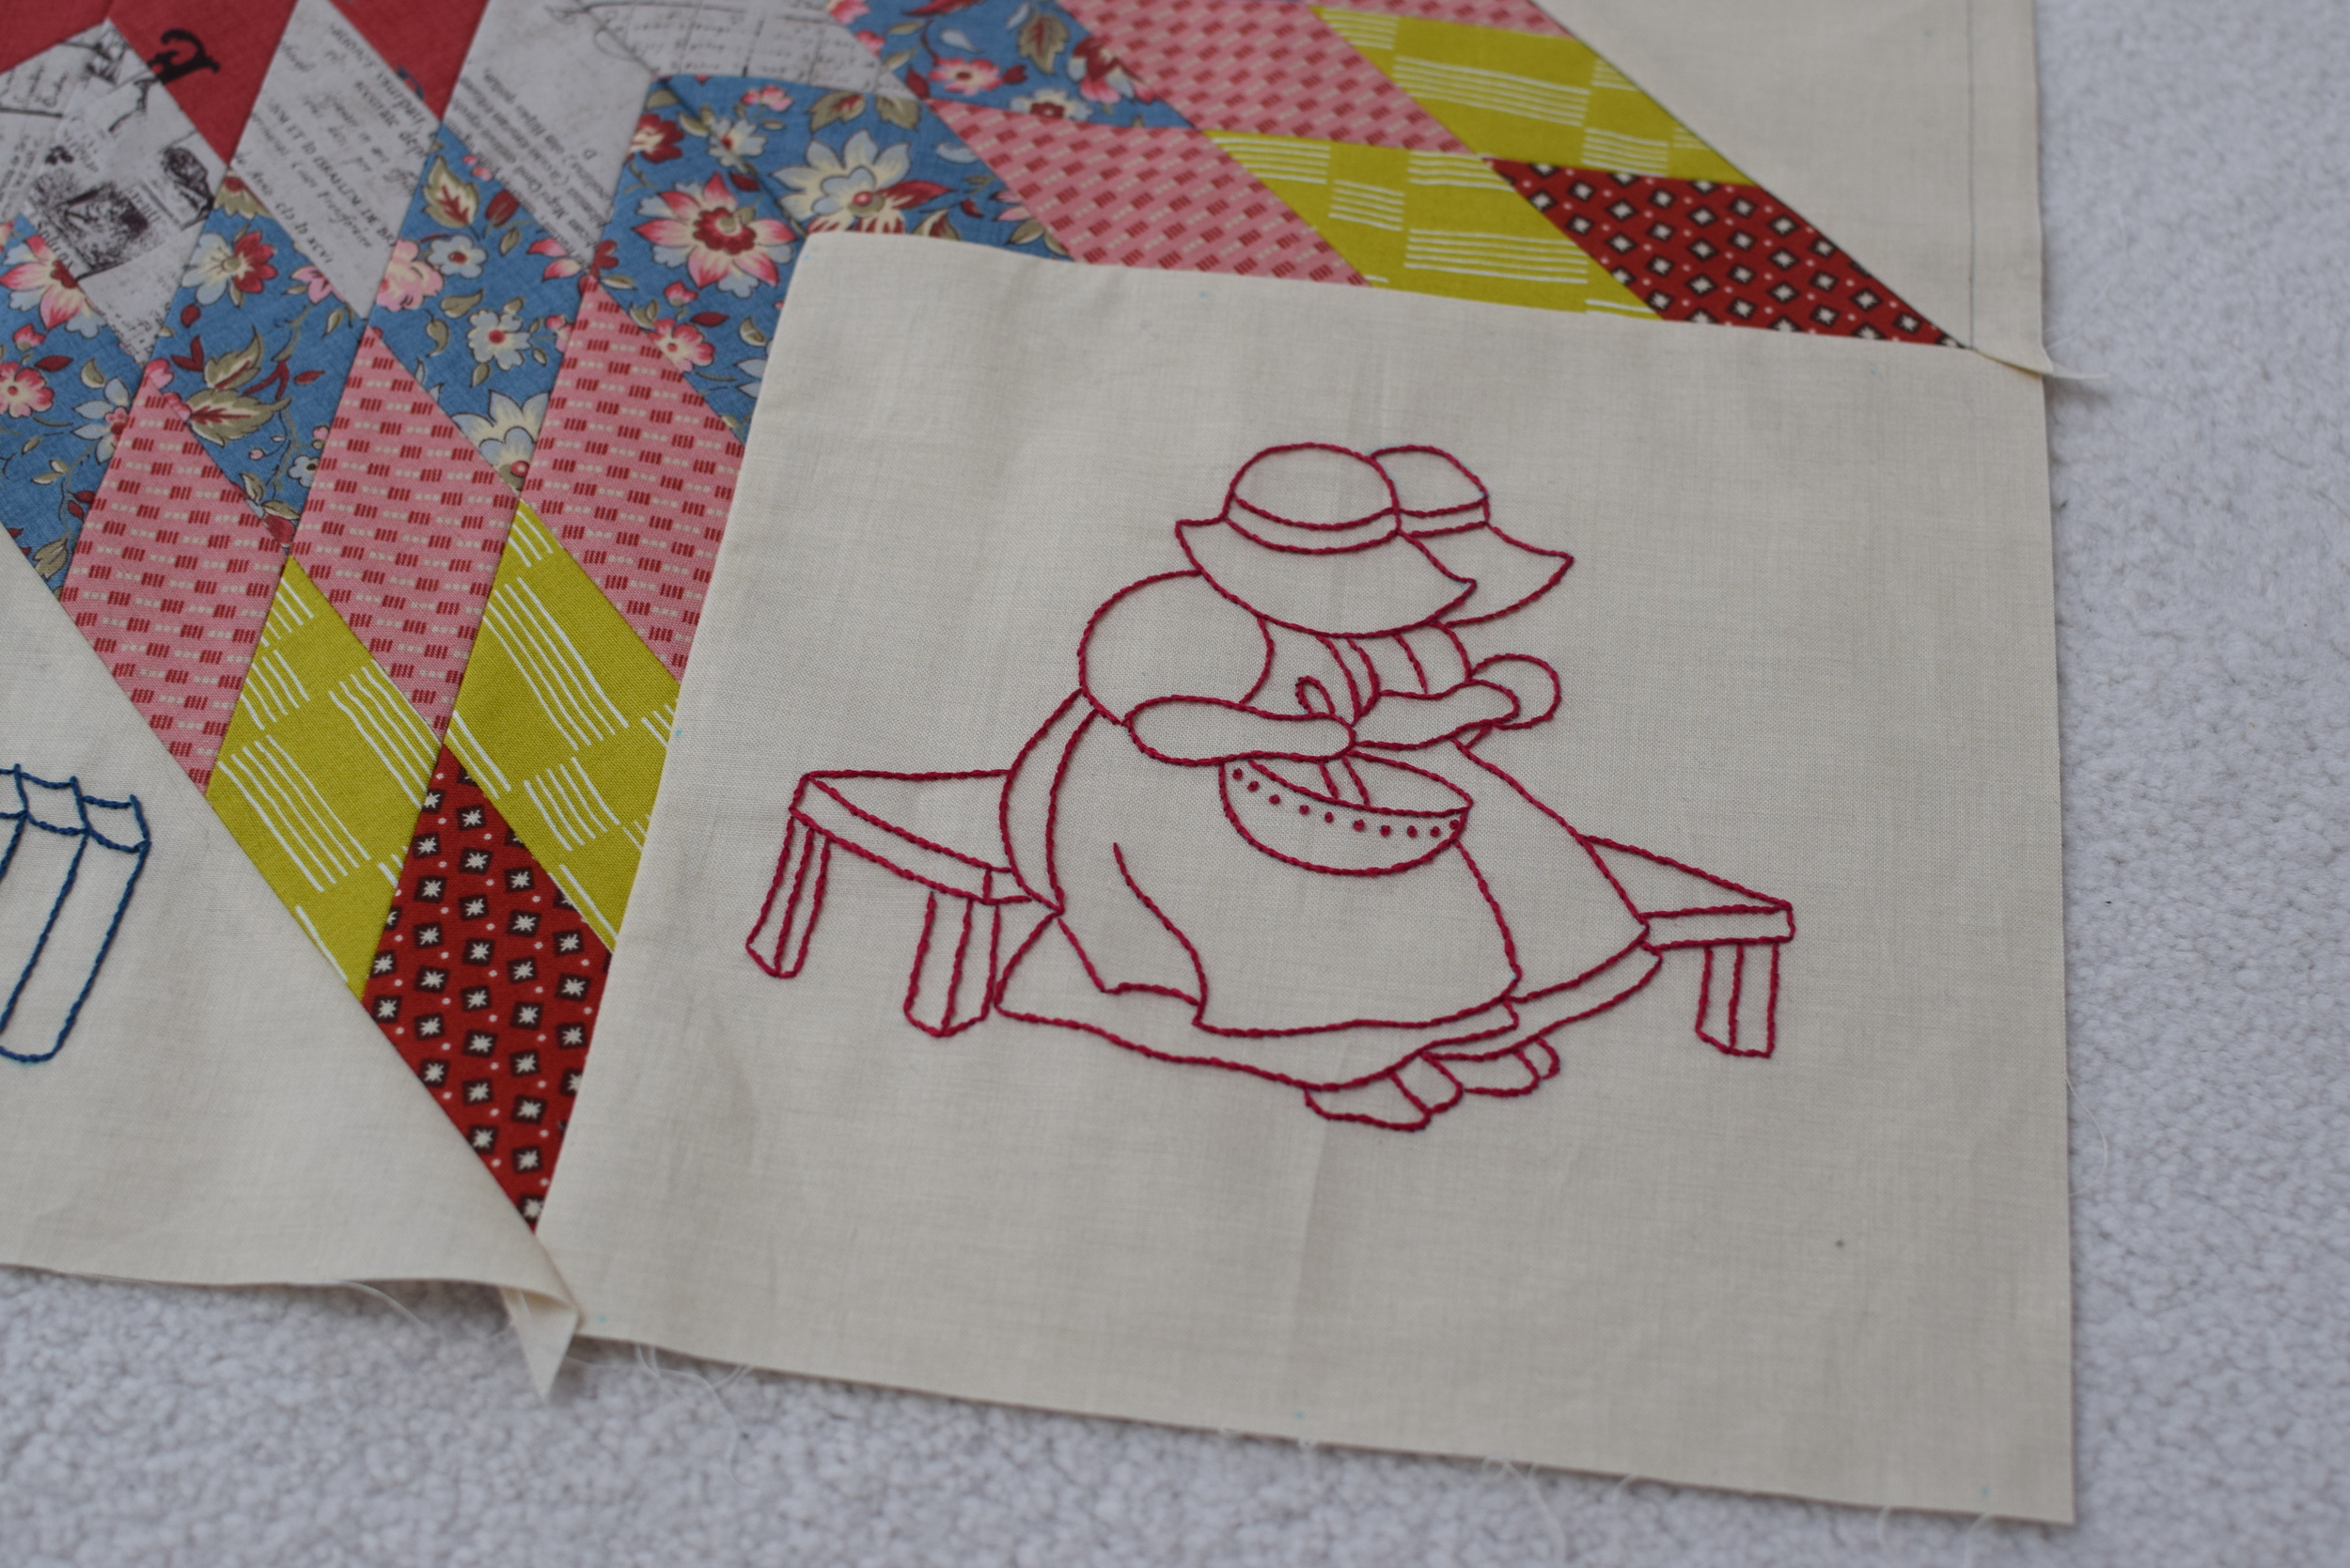
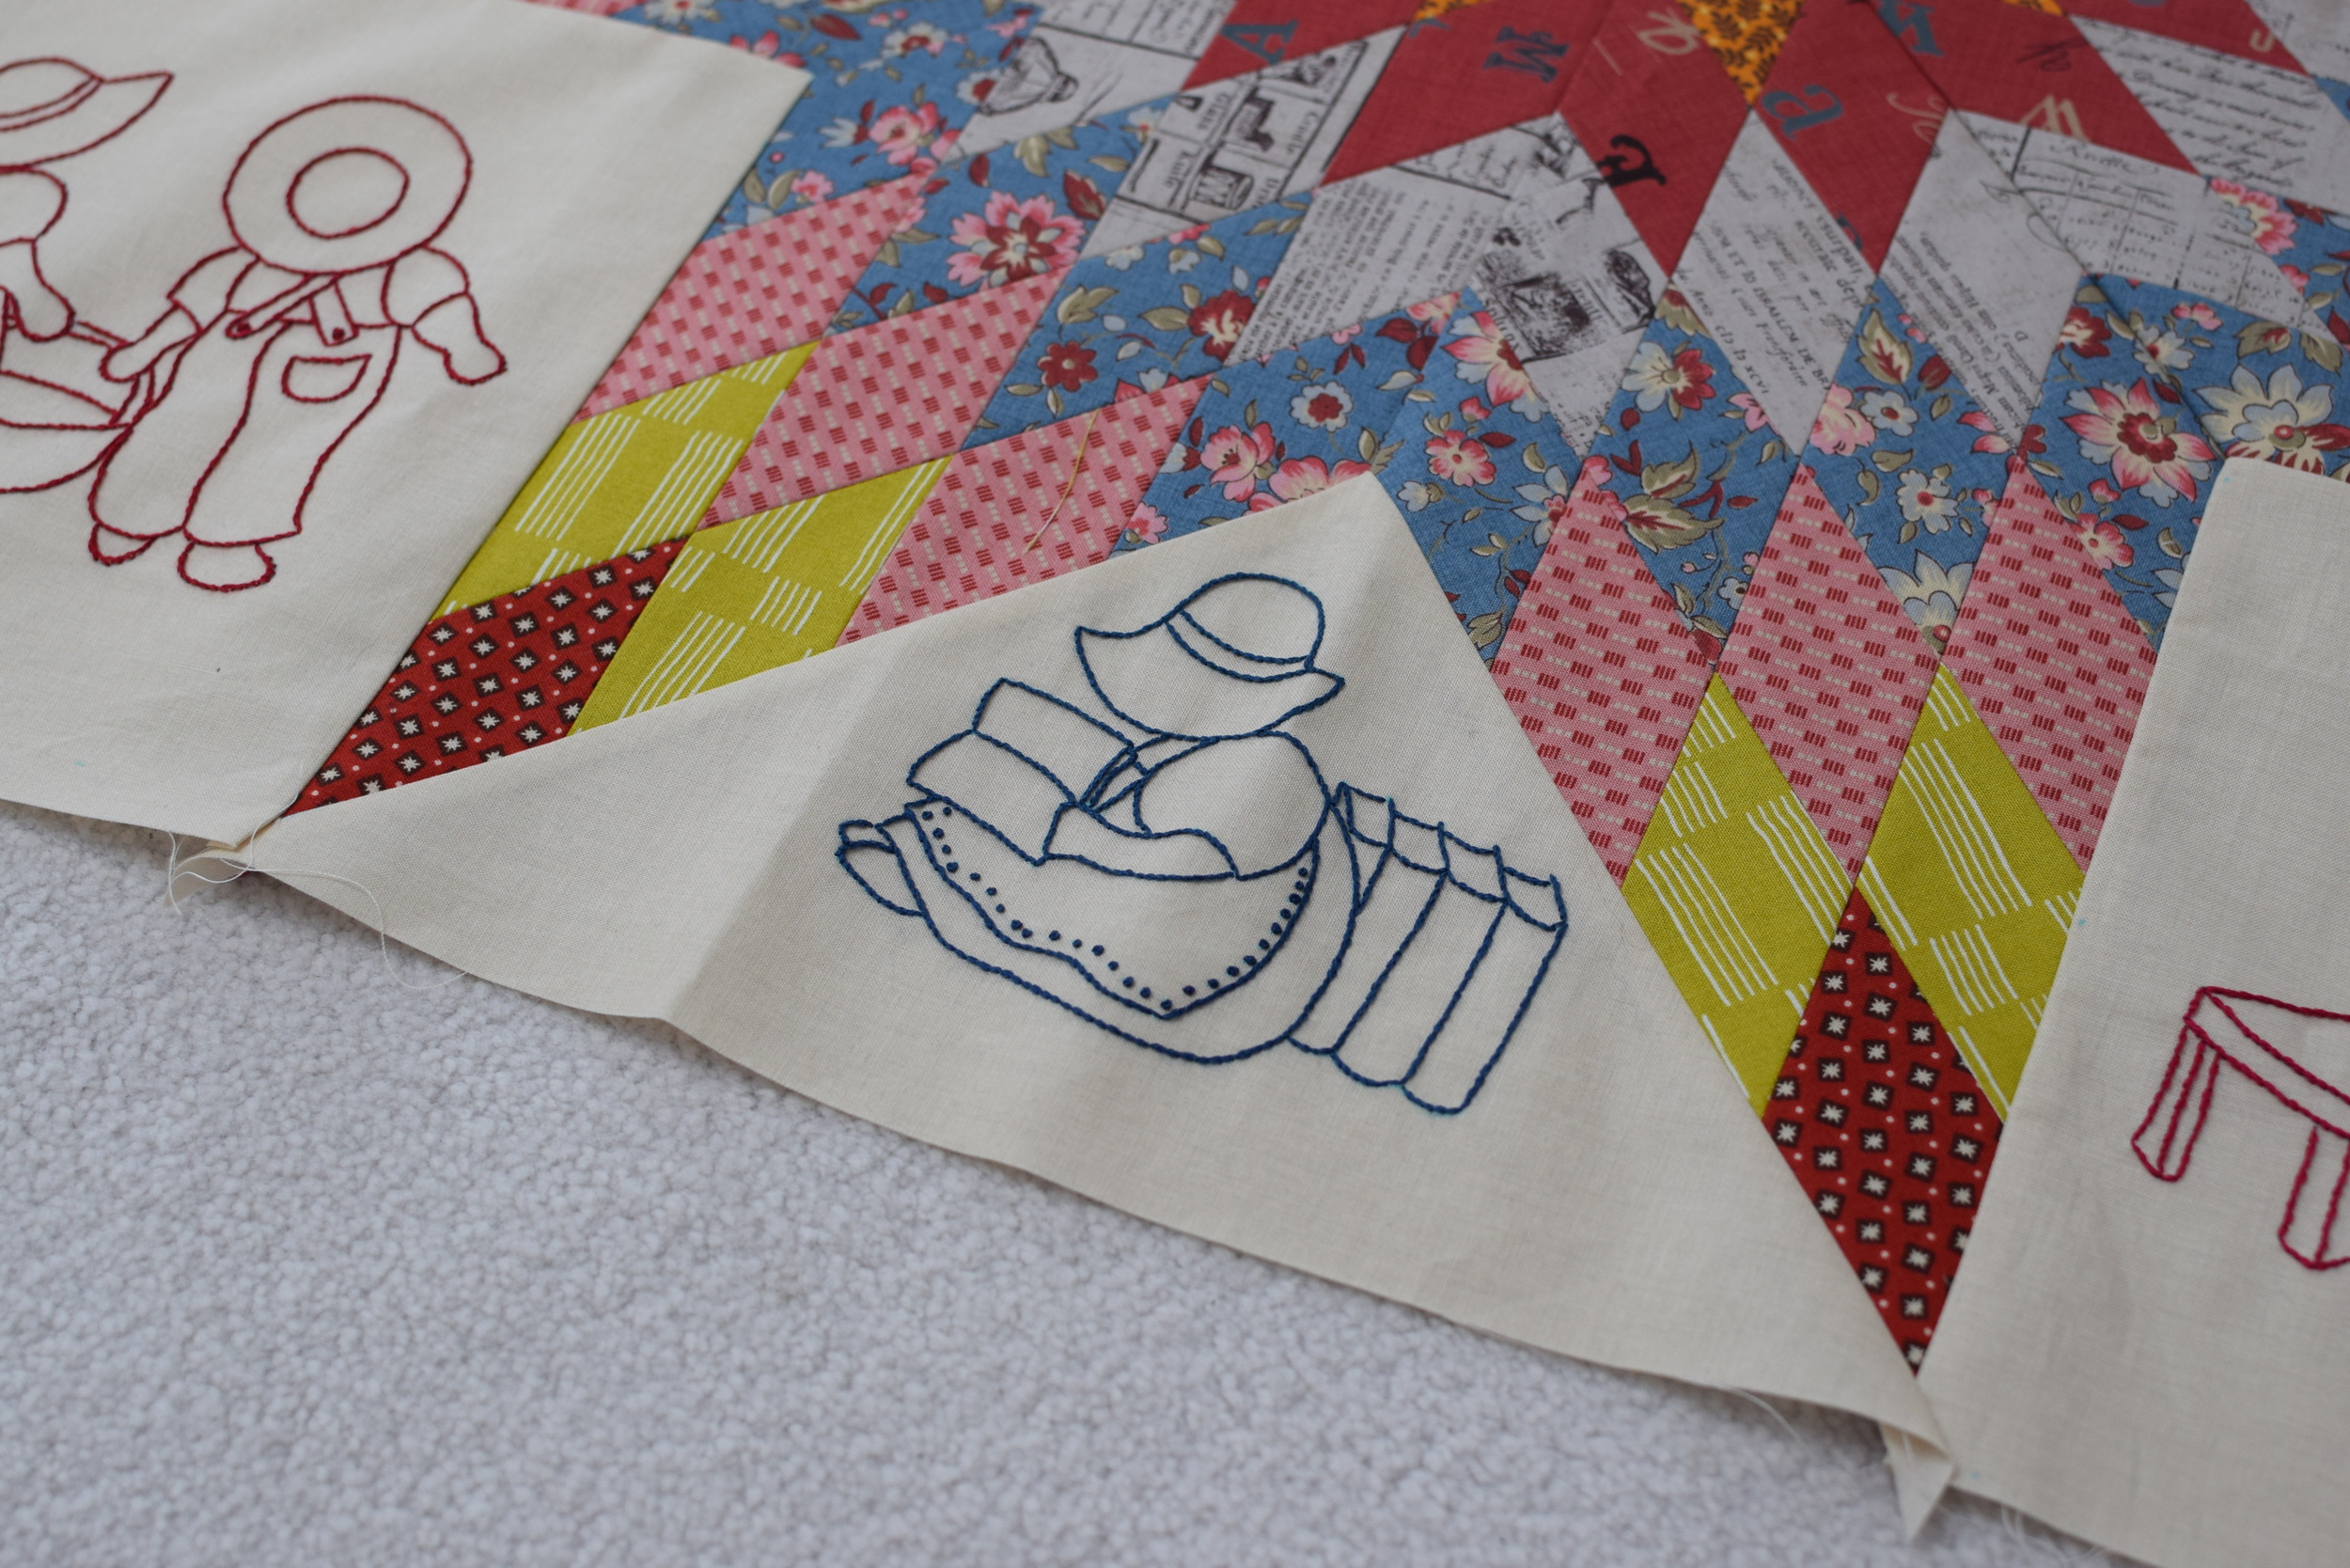
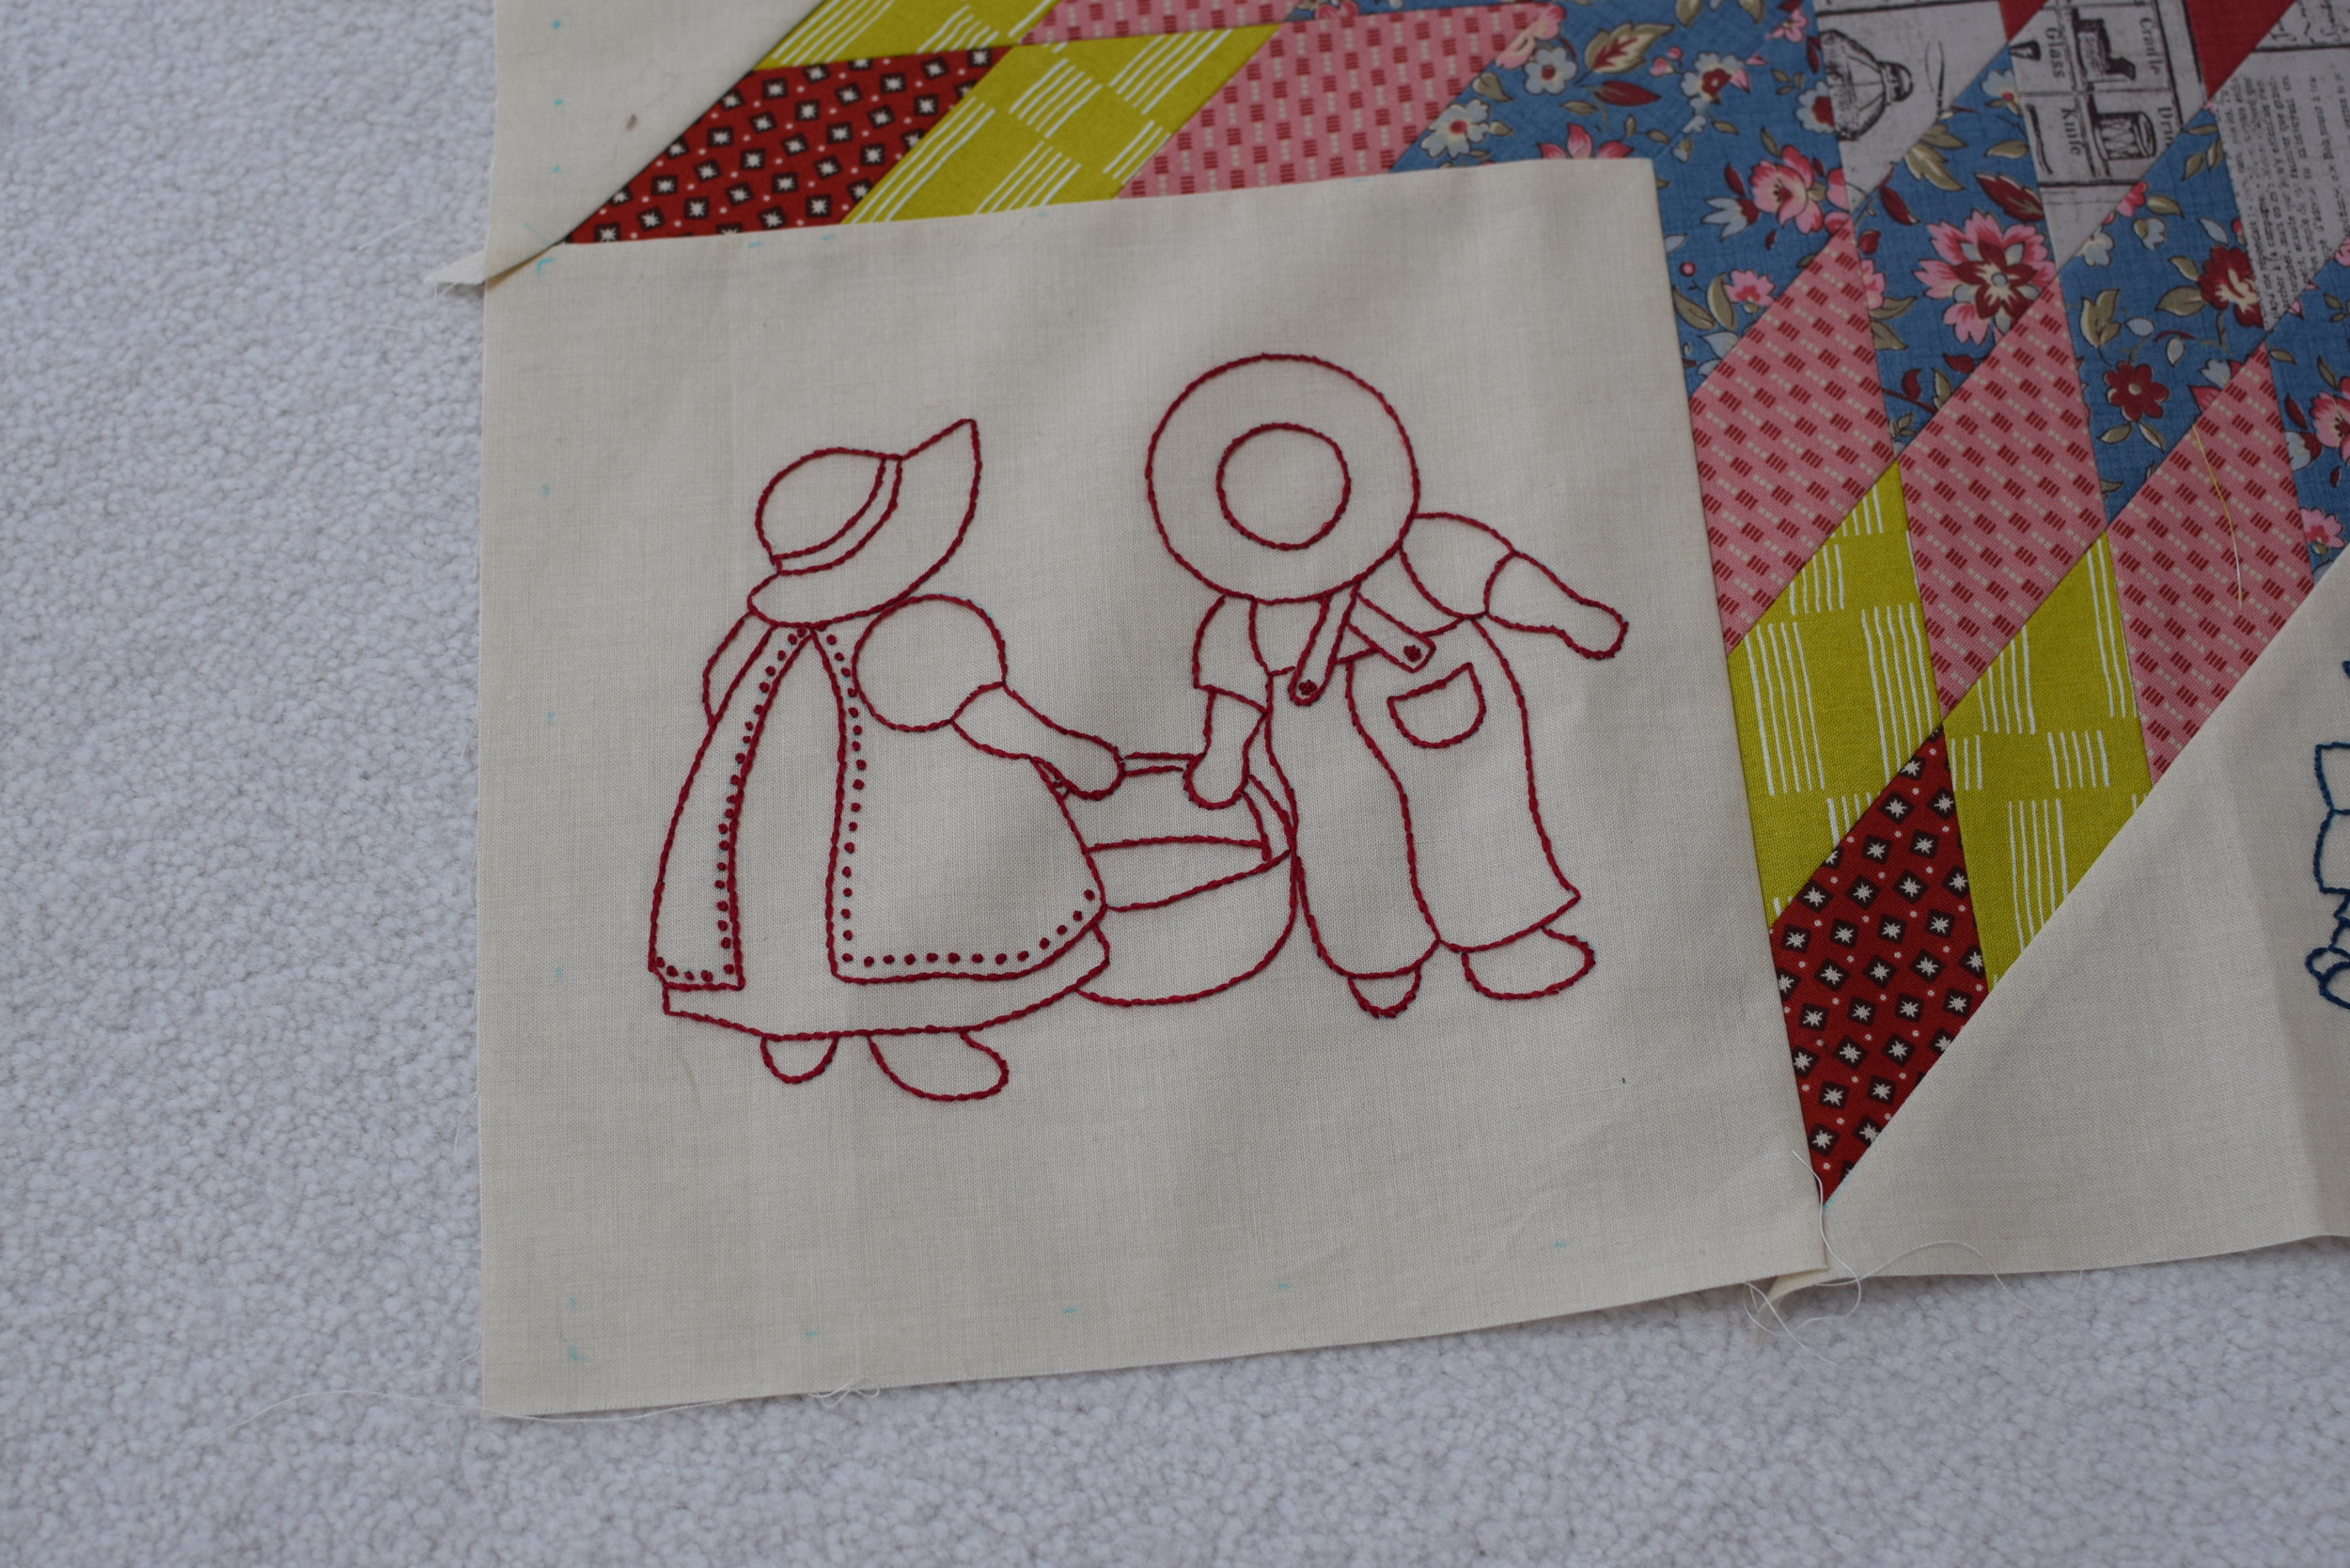
These blocks are made with different techniques: English paper-piecing, hand-sewn patchwork, needle-turned applique, and turned-edge machine applique. The background fabrics are cut larger and will be trimmed to the correct size when the blocks are to be assembled.

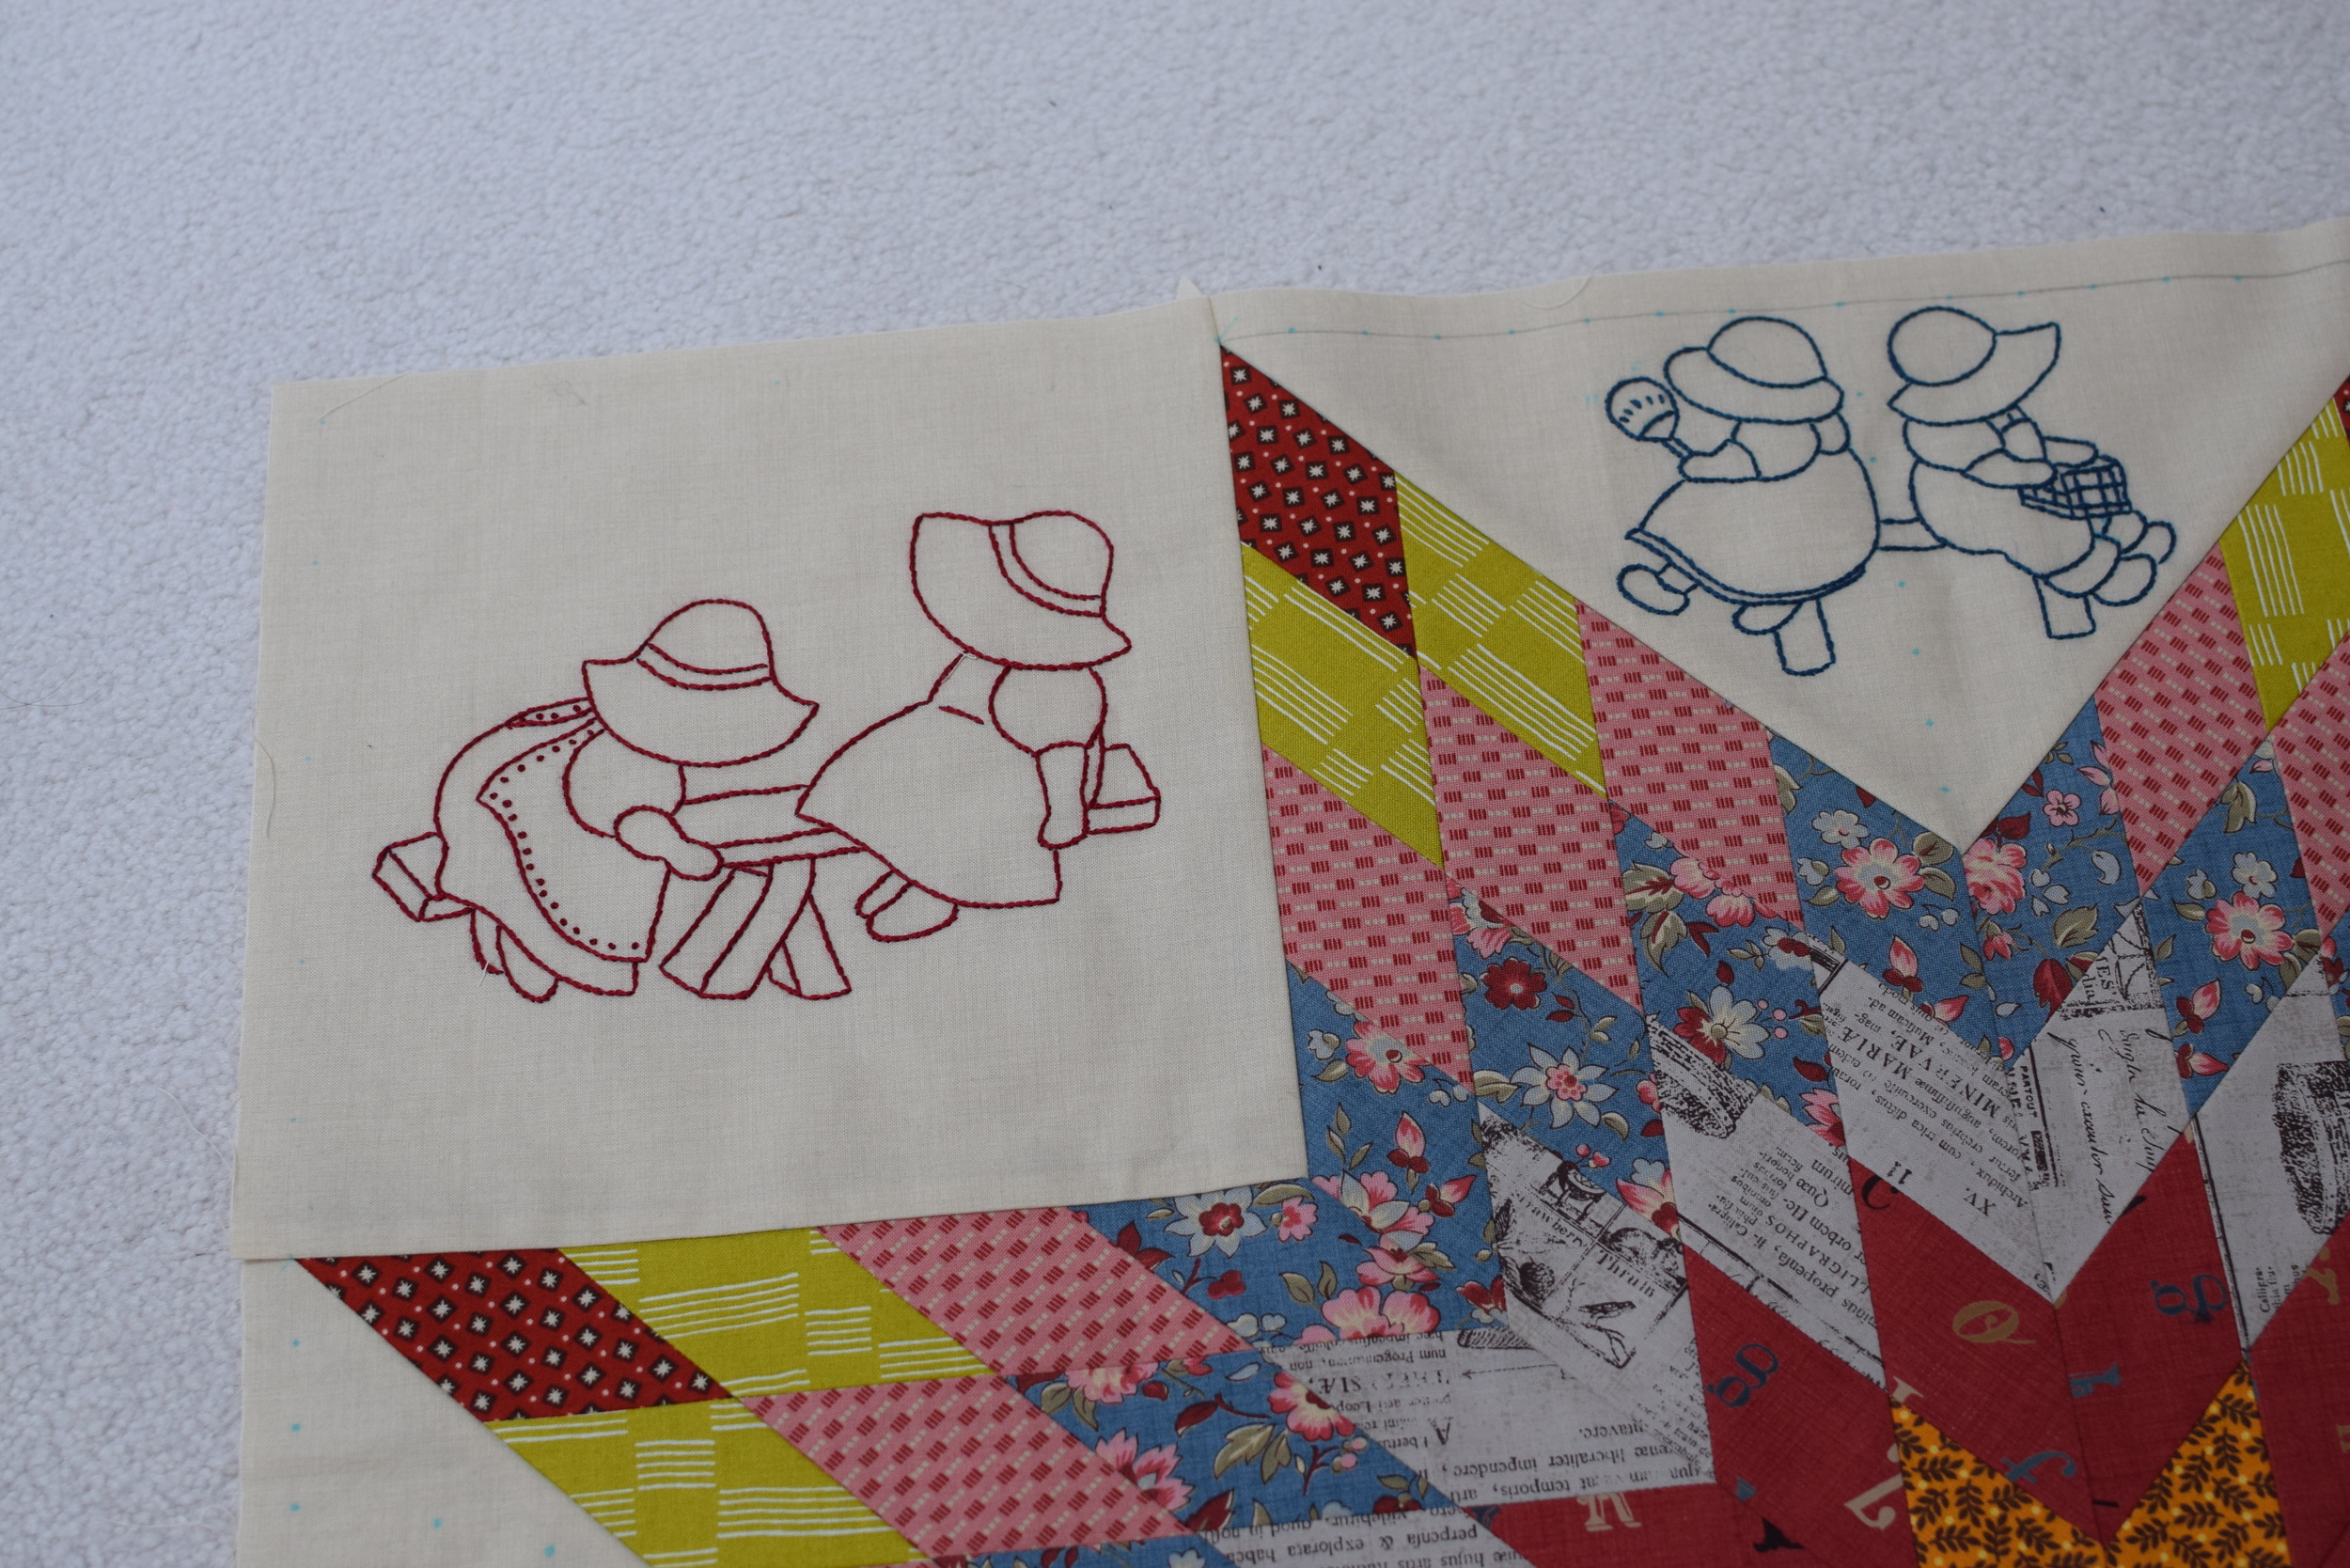
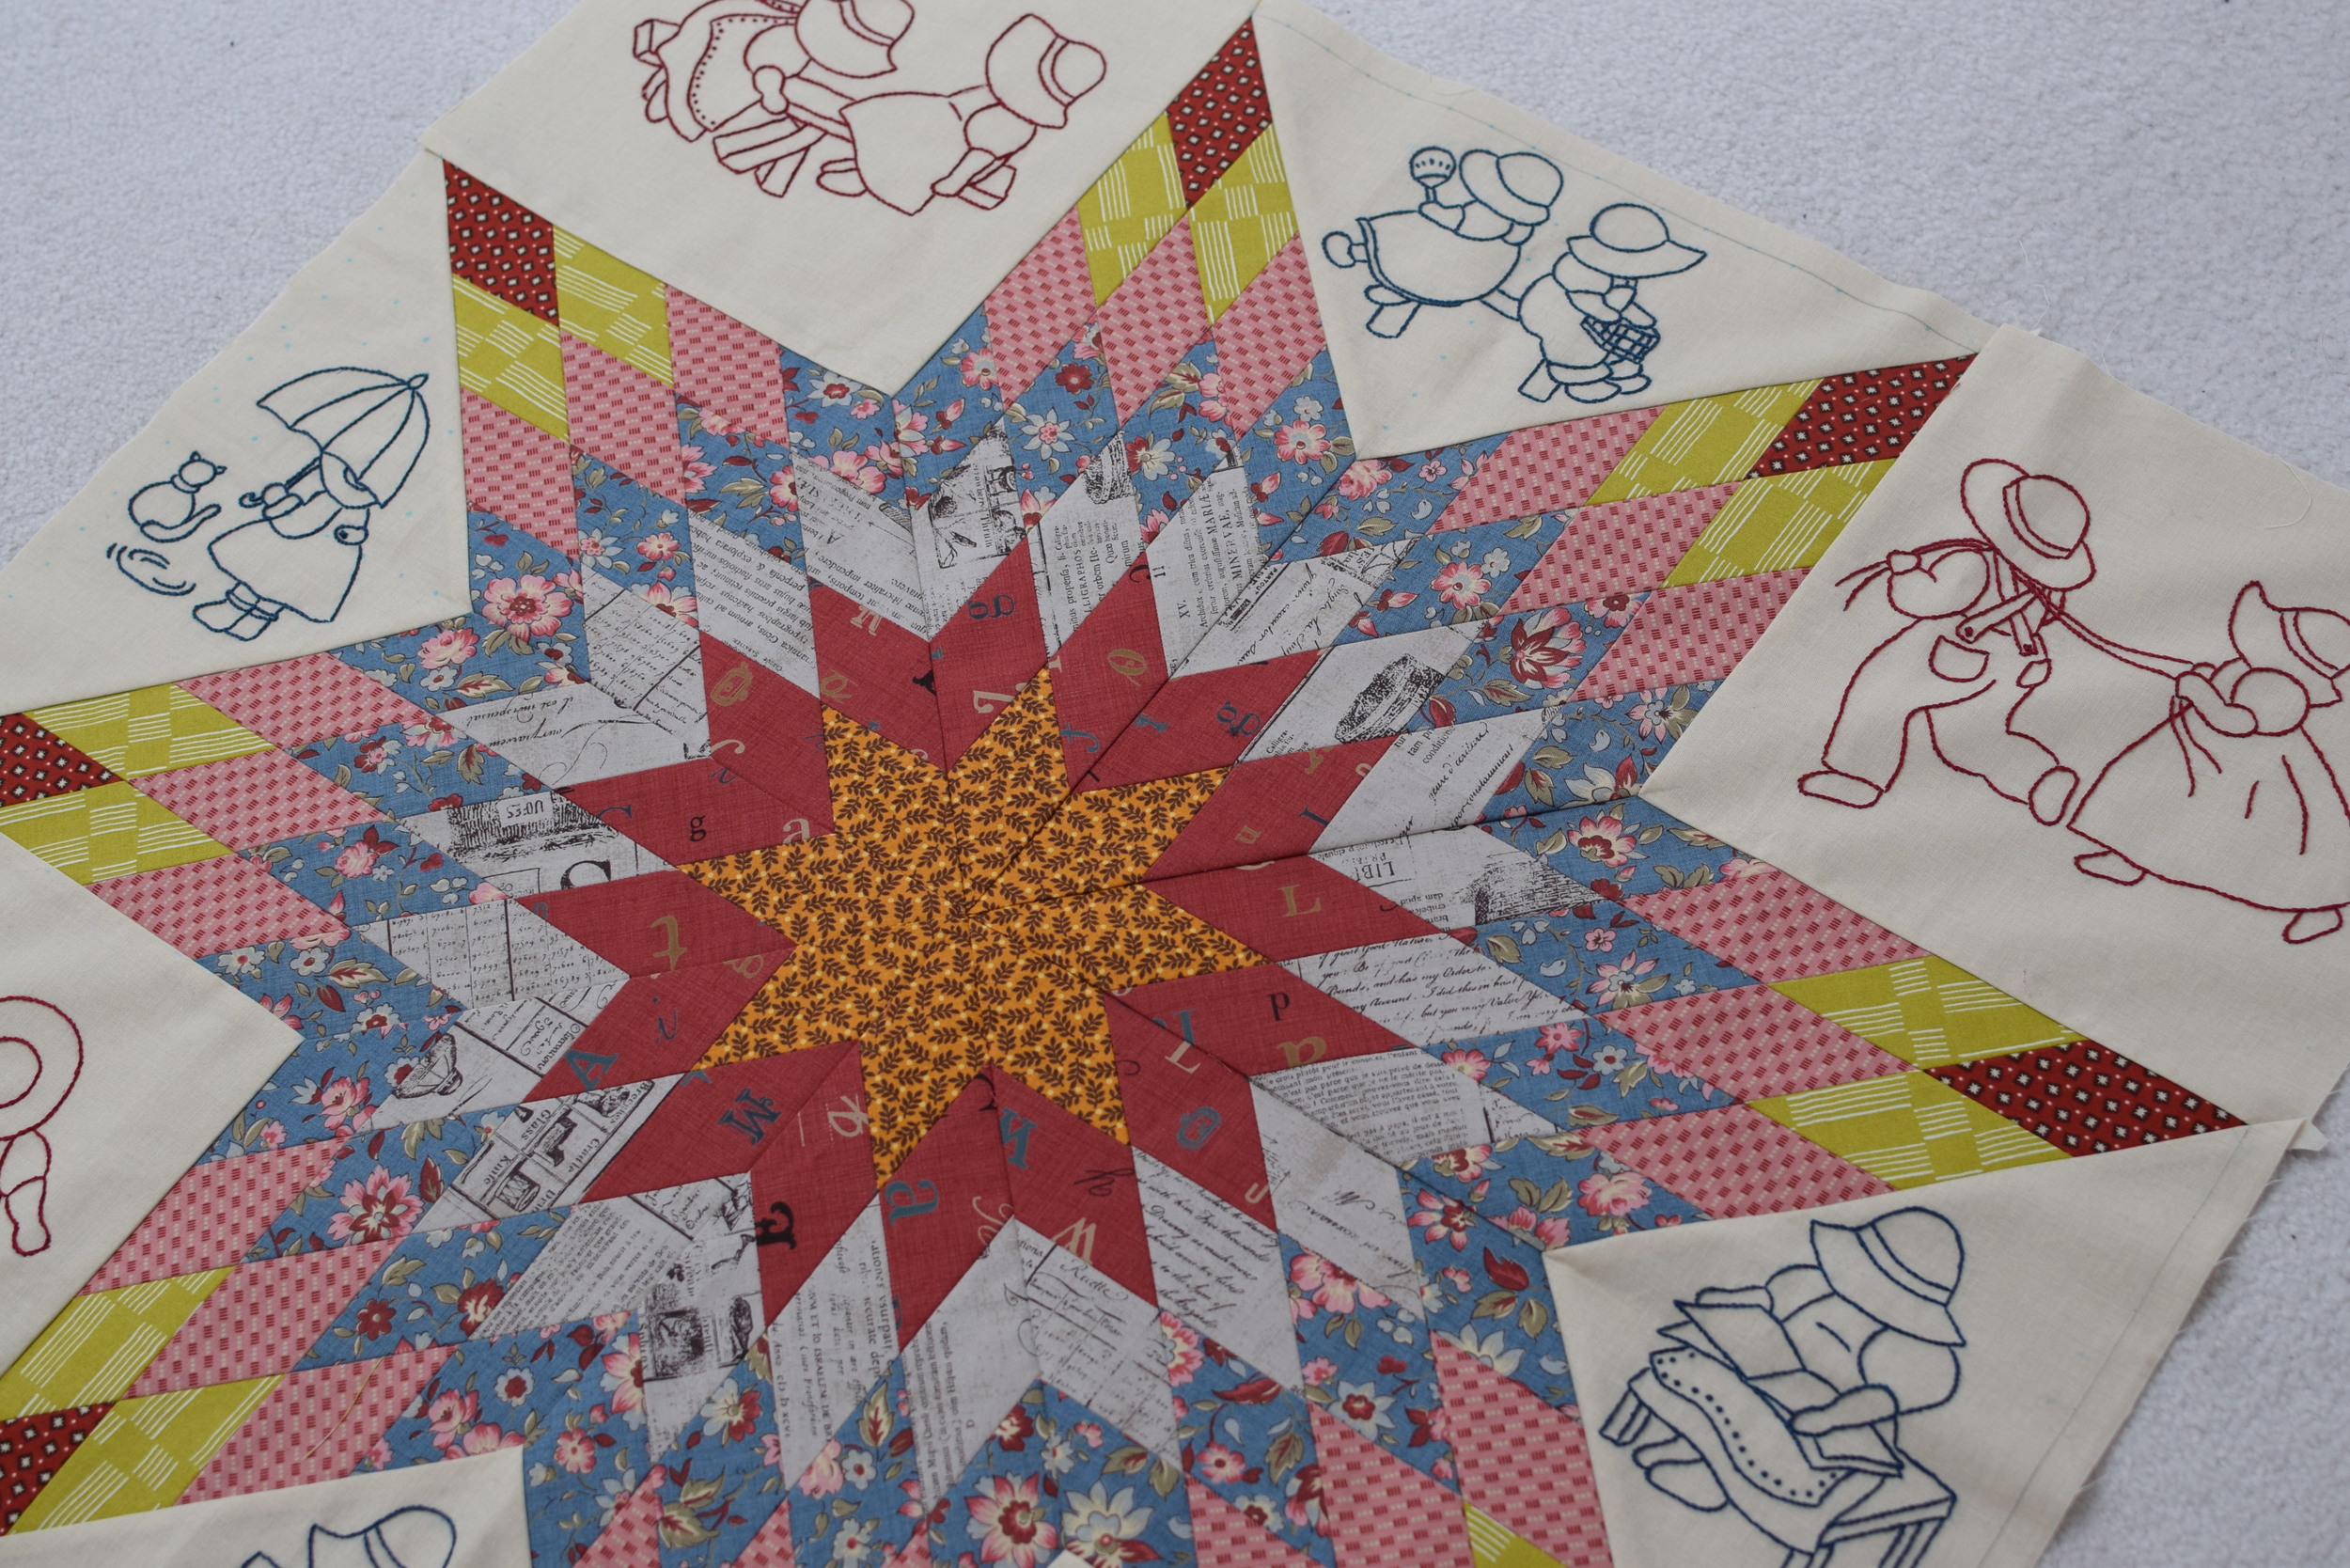
This is my first Lone Star block. To add some uniqueness, I filled the background fabric with Sunbonnet Sue and Overall Sam. Honestly, they took a long time to prepare, because my lack of hand-embroidery experience. I am so happy with the results though. The center star blends well with Sue and Sam.

These blocks will be used for one quilt. It's the quilt that I have planned since early 2015. It will incorporate as many techniques as possible. The quilt will be called: Learn It, Make It. Coming up next will be a Feather Star block.

Yarn Review - Patons Kroy Socks

A while ago, I received four skeins of Patons Kroy Socks from Yarn Canada to try out. I have never shopped at their place before but their $5 flat shipping rate plus free shipping for orders over $35 sound very attractive to me! As a Canadian I always have to pay more shipping + import fee for stuffs from the US. Besides always supporting my local yarn stores and fabric shops, I truly wish there are more Canada based online shops offering great craft supplies (at bargaining prices =P), so we can have more choices. Now, I know Yarn Canada would be a great option.

Ahh... the excitement of unboxing!

These are machine washable and dryable 4ply superfine yarns made of 75% washable wool and 25% nylon. Made in turkey and packaged in Canada, they come in 50g/1.75oz skeins. You will need two skeins for a pair of socks. They are sold at $6.95 per skein at Yarn Canada. So for under $15, you will be able a knit a pair of socks with so many colors available to choose from. How nice!

I received four colorways. The solid colors are Gentry Grey and Flax, and the variegated colors are Green Striped Ragg and Blue Brown Marl.

To test the yarns I made two blocks, combining together the solid and ombre colors. I love the domino square blocks shown at the front. The yarn worked out great with 2.5mm needles in gater stitch.

Overall Patons Kroy Socks is a cost effective sock yarn that come with solid qualities. There is only one thing that you may want to put in your notes: I found the solid color yarns being slightly thicker than their variegated buddies. So if you are planning to combine them, test ahead and make sure that this would not affect the result you wanted.